Documentation, Reference Materials and Tutorials for Imagely
We know many of our users are photographers and have hundreds of images they want to upload in one large batch. This guide is here to help you create your first gallery with Imagely!
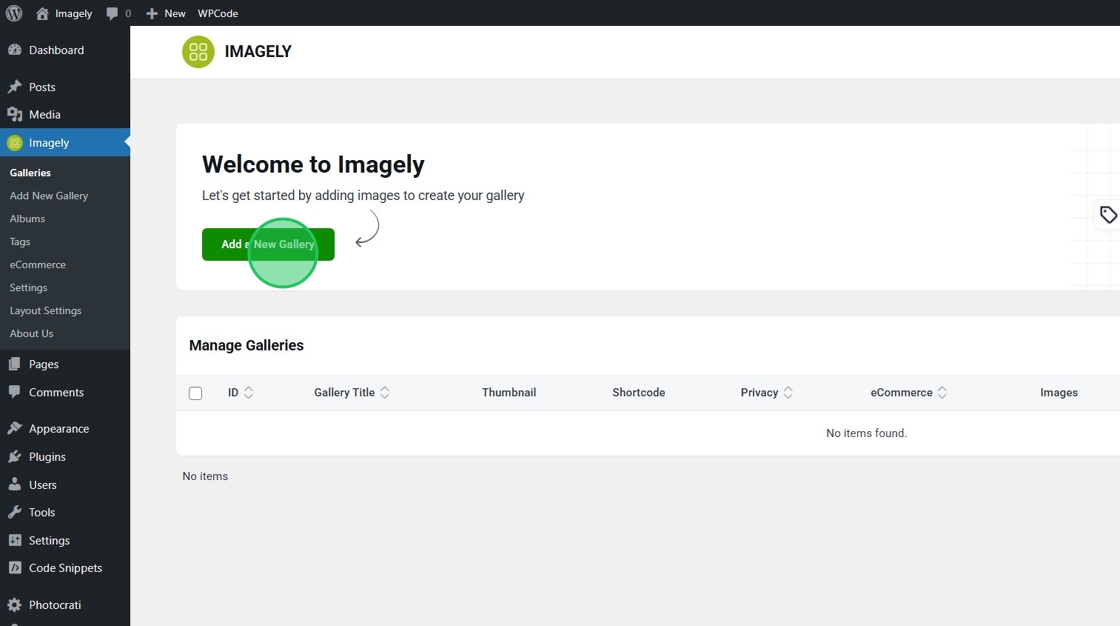
First, click Add a New Gallery
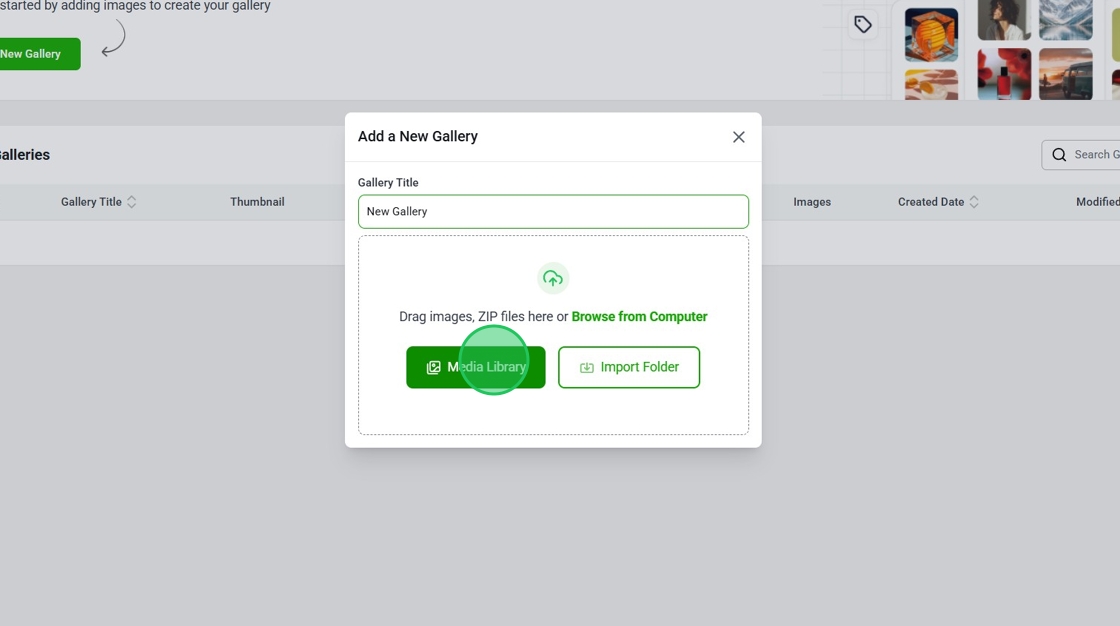
After you name your gallery, you can either choose images from your computer, select from the WordPress Media Library, or import a folder of images.
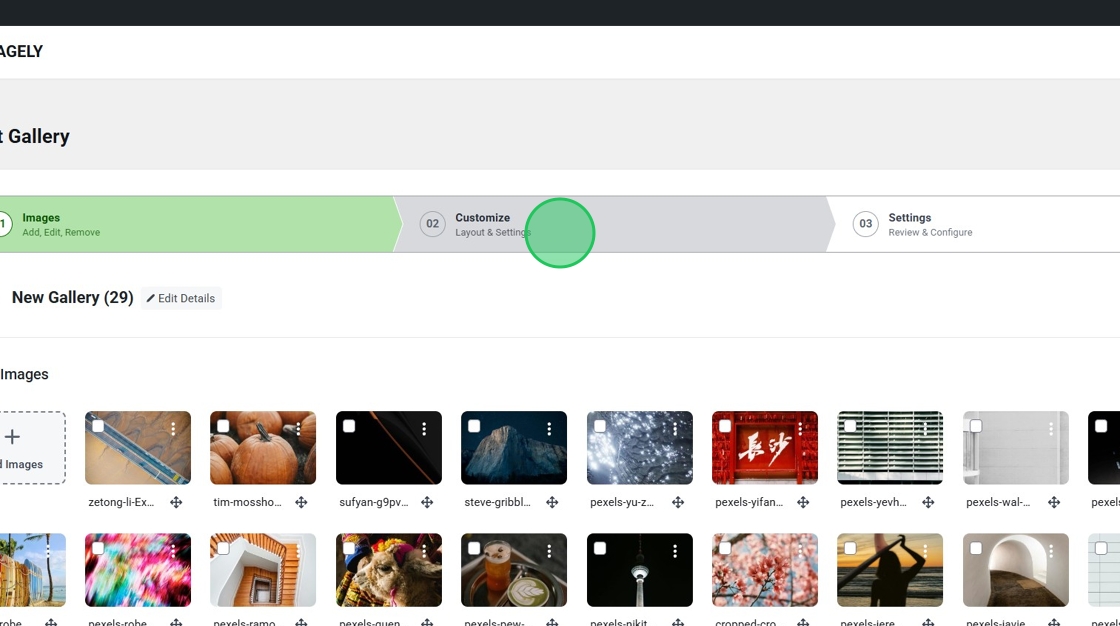
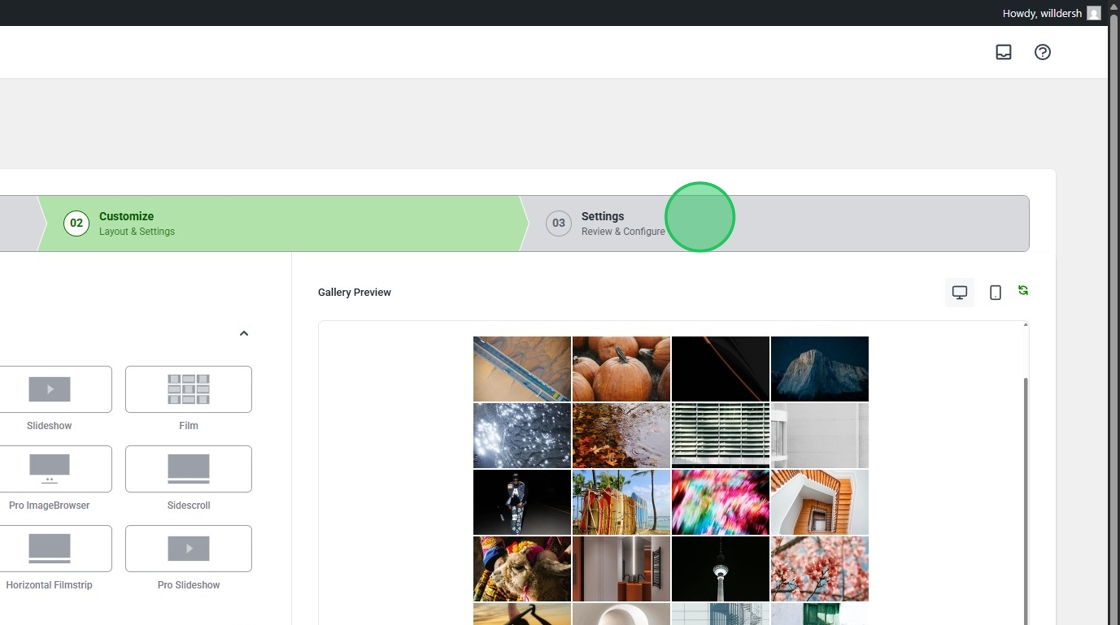
After your images finish uploading, click the Customize tab to select your gallery layout and customize your gallery!
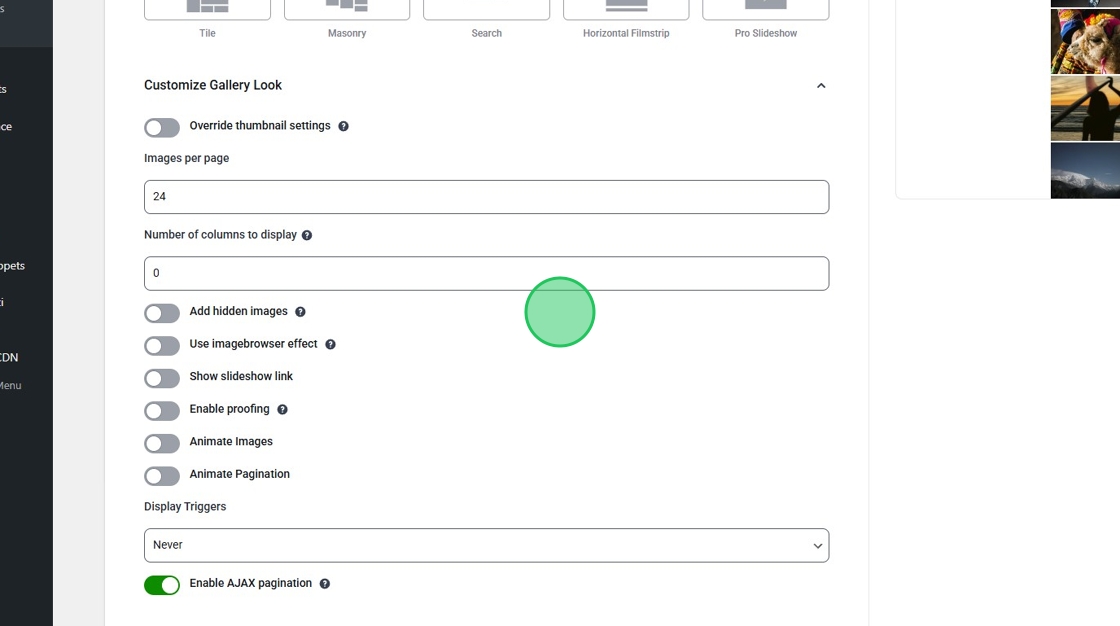
From here you’ll be able to adjust a few different settings for your gallery.
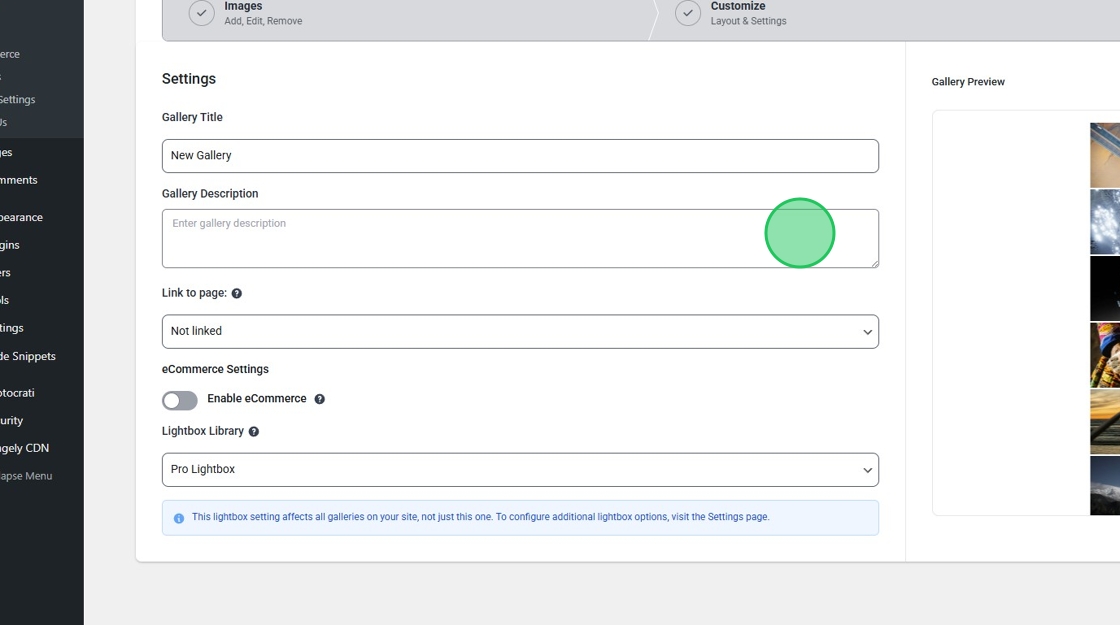
Next, click the Settings tab for the final review of your gallery.
Here you’ll be able to add a gallery description, select the lightbox your gallery will use, and even enable eCommerce if you’re selling images from your gallery!
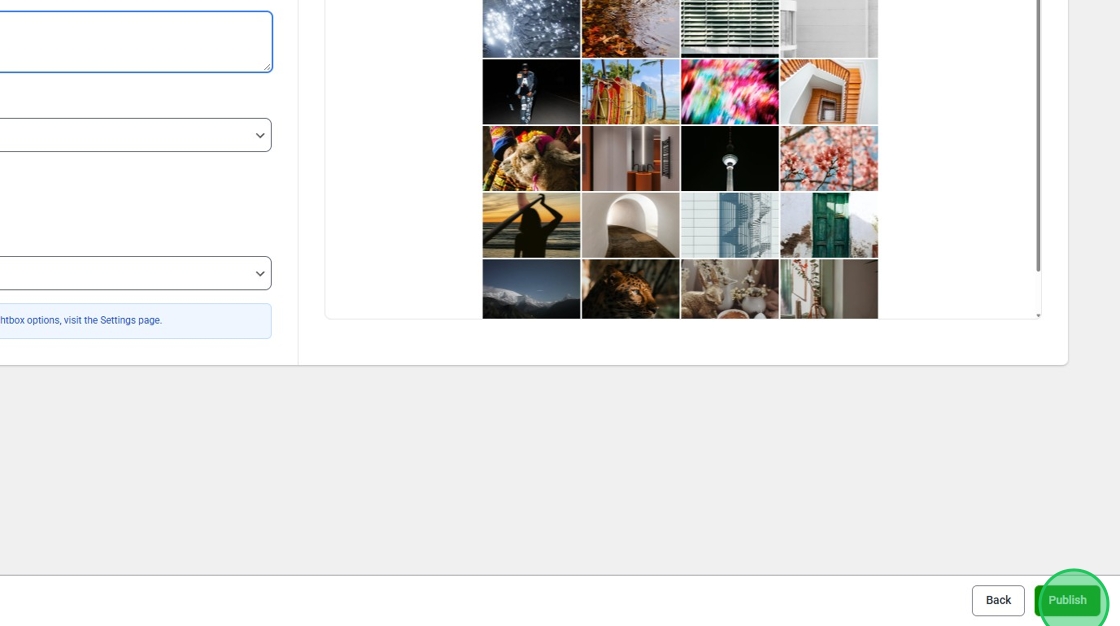
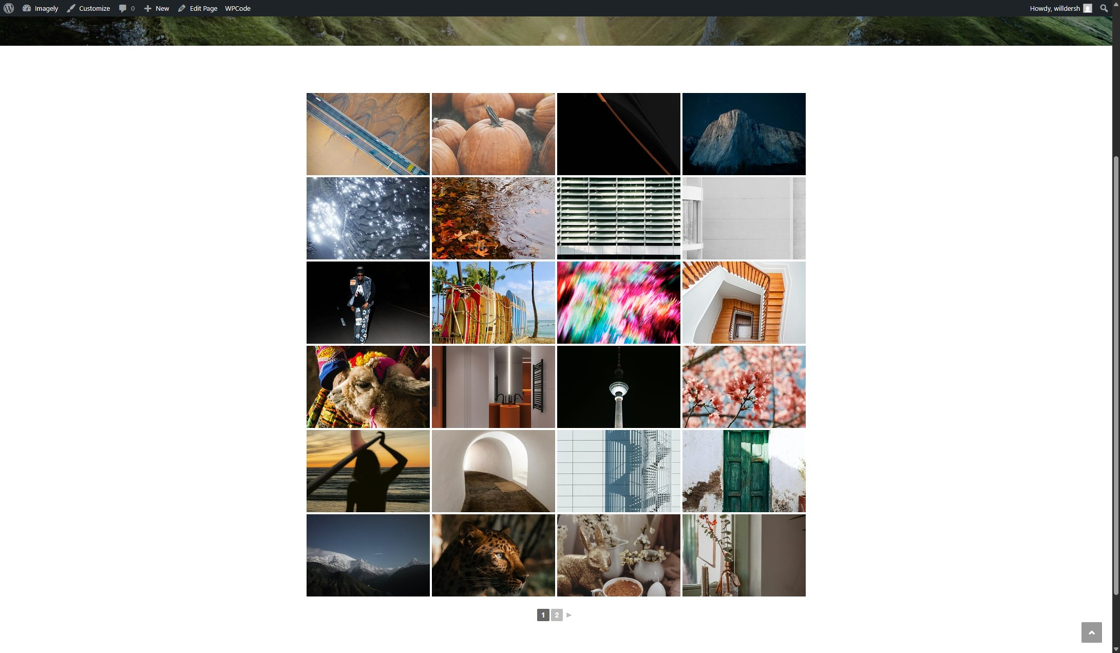
Finally, click Publish and your gallery is ready to use!
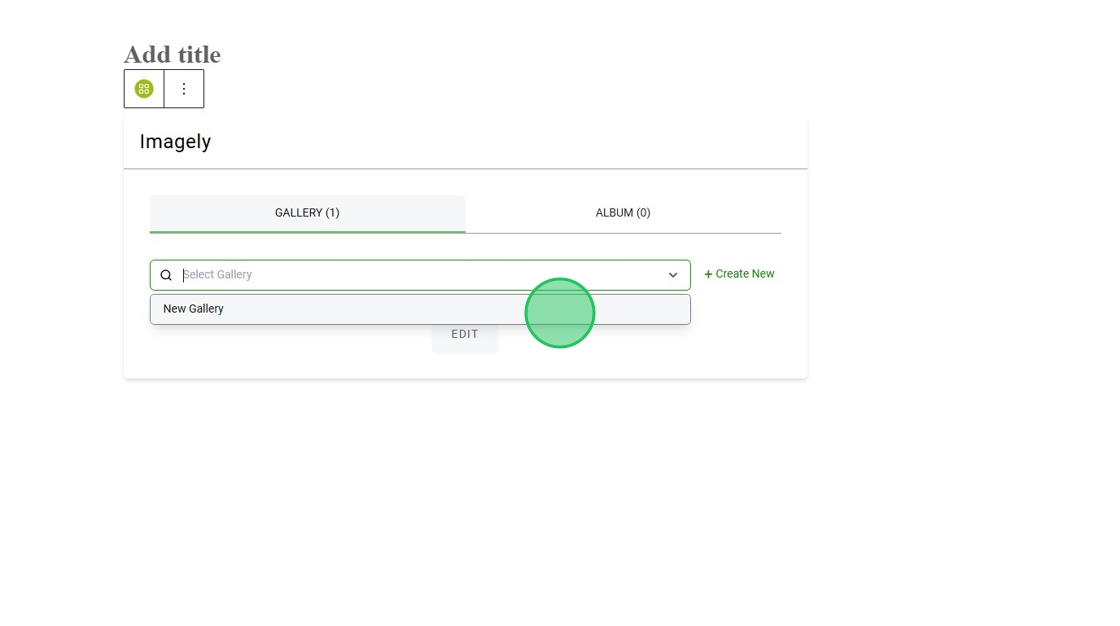
Now just head over to the page where you want to display your gallery, insert the Imagely block, and then select the gallery from the dropdown menu.
Now you’re ready to create more galleries and start showing off your images!
That’s it! Now you know how to create galleries and all the ways to add images! 🙂

Best WordPress Theme & Plugin For Photographers
Enter the URL of your WordPress website to install

Imagely is perfect for photographers, designers, bloggers, and creative professionals who want more than just a gallery.
Built in eCommerce and print fulfillment
90+ themes and designs
Tons of customizations and options
14 day money back guarantee
Copyright © [#this year :%Y] Imagely, LLC. Imagely is a trademark of Imagely, LLC.


