Multisite is a WordPress feature that allows users to create a network of sites on a single WordPress installation. You can use this article to set up your own multisite install.
For this example, we have created a local multisite set up as a sub-directory install.

NextGEN needs to be installed from your network. Please be sure to click on Network Activate in the plugins you would like to use in your sites. Here is a screenshot of how NextGEN Gallery Plugin should look like on Plugins > Installed plugins.


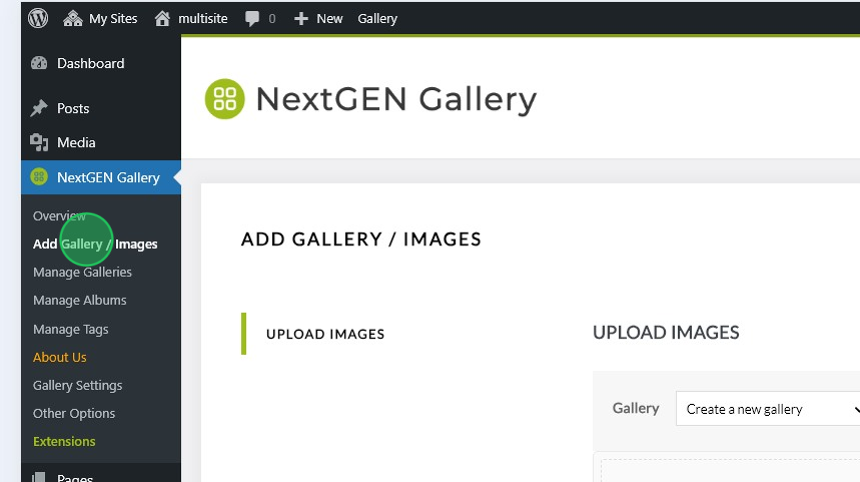
Upload an image
Some functionalities like imports are missing, but you can enable those from your Network Settings.


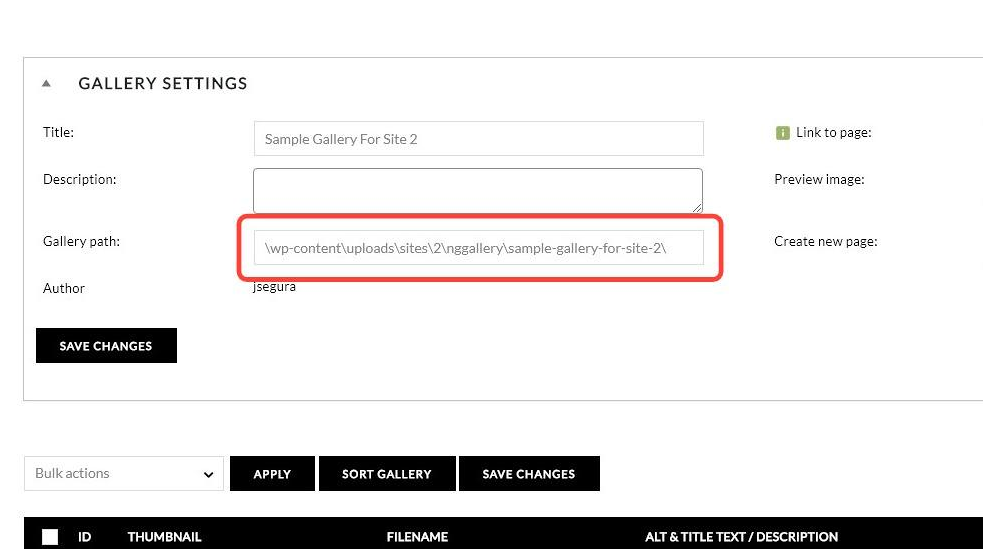
Galleries folder path
All the individual gallery paths are read-only. You can only adjust the main network path and it will create your galleries based on that setting.


NextGEN Gallery – Other Options
If you check NextGEN Gallery > Other options inside an individual site, NextGEN Gallery doesn’t have a way to change the path to all your galleries. This will be controlled by your main WordPress install (your network settings).

Enabling additional options
There are some options that you can enable for each site in your Network Admin Multisite dashboard. Those options are under the link Gallery.
- Gallery path: This is the default path for all blogs with the place holder %BLOG_ID% representing each individual site inside your network.
- Enable upload quota check: Sometimes, users need to set up a different path for their galleries. This will allow the galleries to be located below the blog directory.
- Enable zip upload option: Allow users to upload zip folders.
- Enable import function: Allow users to import images folders from the server.
- Enable style selection: Allow users to choose a style for the gallery.
- Enable roles/capabilities: Allow users to change the roles for other blog authors.
- Default style: choose the default style for your galleries.
After adjusting those options, you need to click on Update to make those options available on the sites inside your network.

