NextGEN Gallery allows you to add watermarks to your images individually or as a batch. Watermarks are text or graphics that are placed on a photo to identify who owns the copyright. These are a great way to prevent your images from being stolen or resold!
To set your watermark settings, go to Gallery > Other Options > Watermarks:
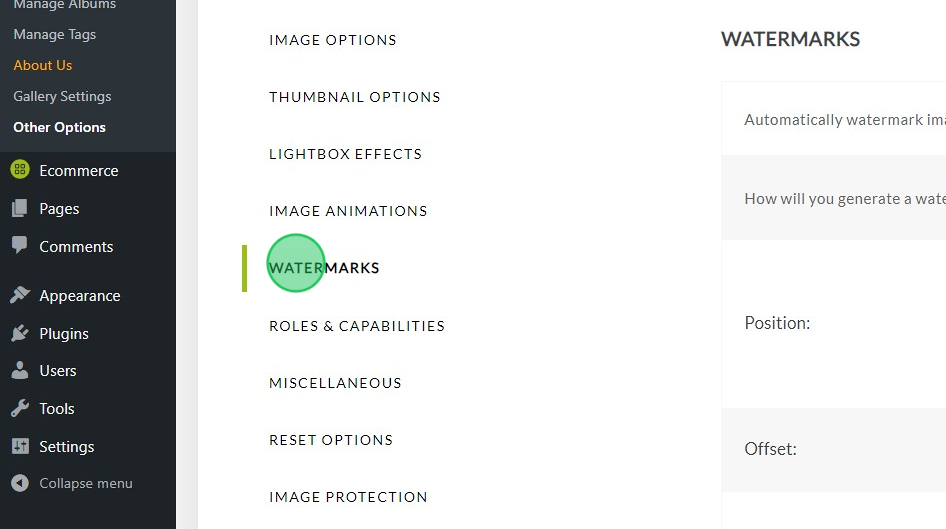
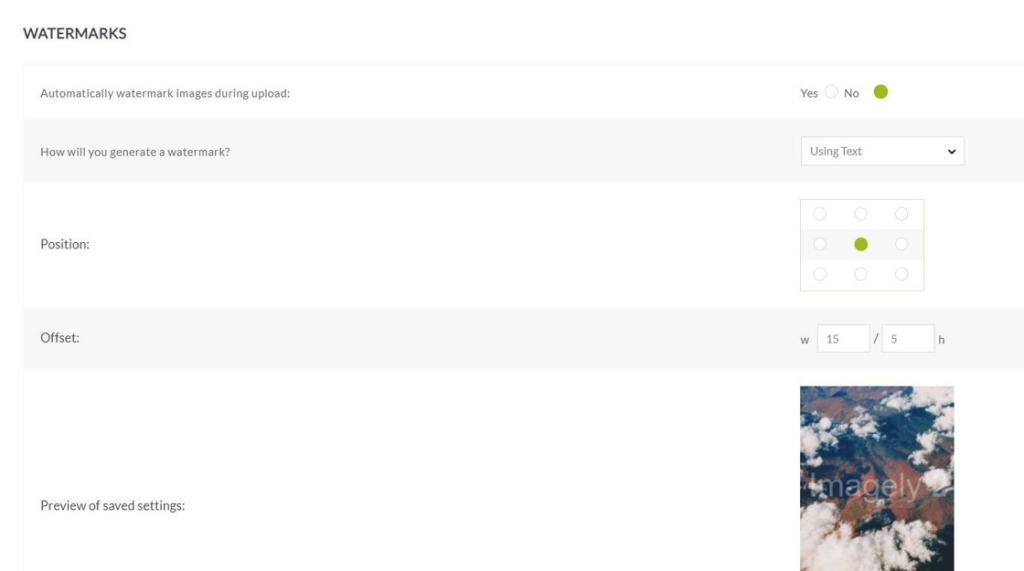
Here are the available watermark settings:
- How will you generate a watermark?: Using text or Using an Image.
- Position: You can use this setting to define the location of the watermark.
- Offset: Padding to your watermark based on pixels.
- Preview of saved settings: That button allows you to see how the watermark will look. It will use the first image from your first gallery.
How to set up your Text Watermark
- Go to Gallery > Other Options > Watermarks.
- On How will you generate a watermark? choose Using Text.
- Choose the position.
- Set the offset options.
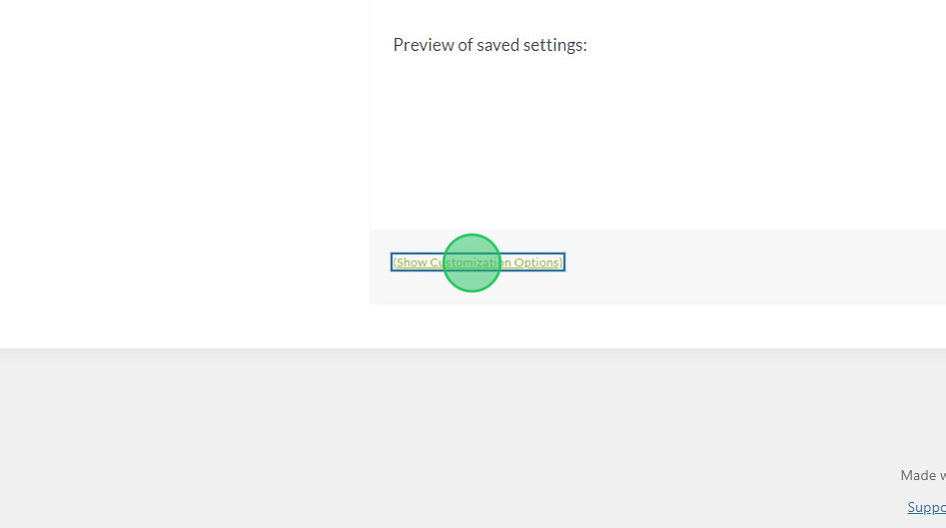
- Click on (Show Customization Options).
- Set up the format for your text:
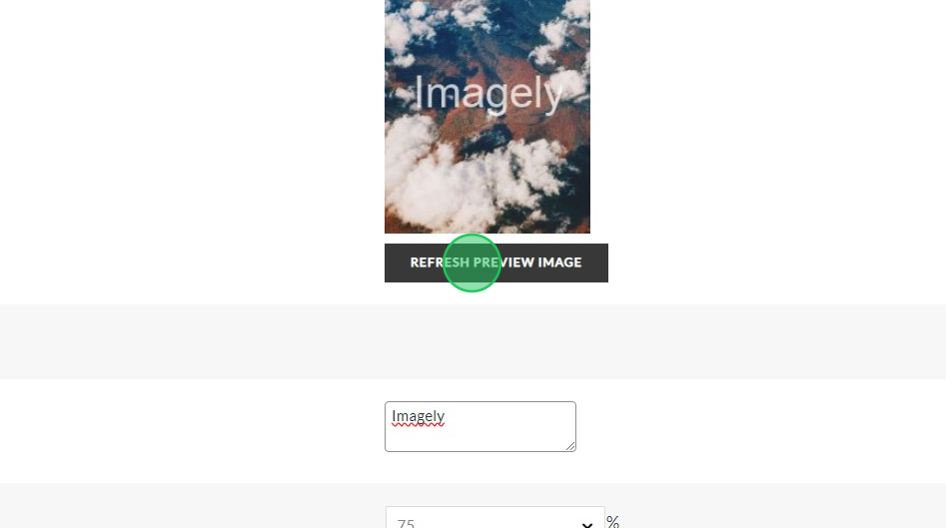
- Text: The text that you are going to use as your watermark.
- Opacity: 100% means that the text will be completely visible.
- Font Family: The style, at this moment you only have two options: YanoneKaffeesatz-Bold and Arial.
- Font color: the color of your watermark. By default, it is set to white.
- Click on Refresh Preview Image to check how your watermark is going to look.
- Finally, click on Save Options and that’s it!
How to set up your Image Watermark
- Go to Gallery > Other Options > Watermarks.
- On How will you generate a watermark? choose Using Image.
- Choose the position.
- Set the offset options.
- Click on (Show Customization Options)
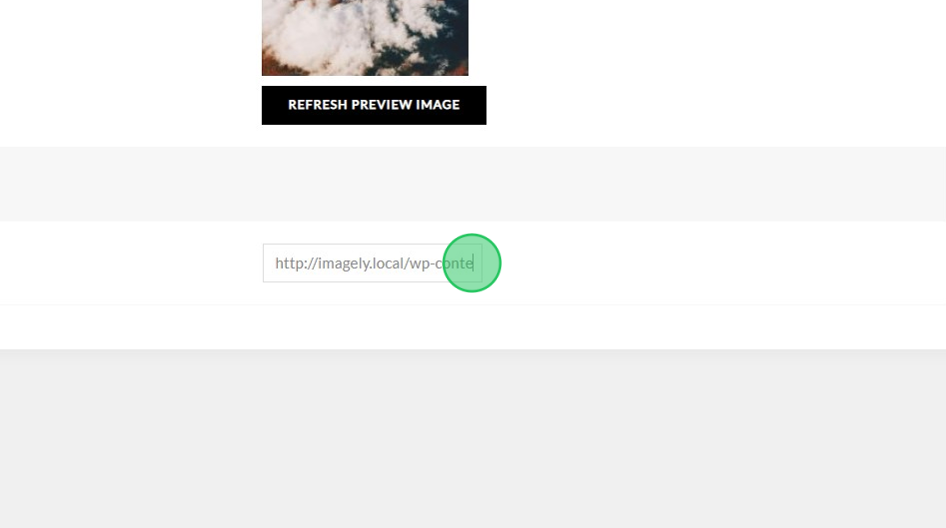
- Image URL: Include if possible the absolute path to that image or you can upload the image to your WordPress Media Library.
- Click on Refresh Preview Image to have a glance at the watermark.
- Finally, click on Save Options.
And that’s it! Now you’re all set to start adding watermarks to protect your images.
