To add NextGEN Basic Extended Album to your post or page in WordPress, follow these simple steps:
If you’d like to learn more about the difference between Albums and Galleries then checkout this guide.
1) Follow the steps below to access our Add Gallery Window.
The Add Gallery Window is accessed by Clicking the (+) symbol and select the NextGEN Gallery icon (or search for NextGEN) to the right as shown in this screenshot below:

2) If you have not yet created your galleries, follow the steps in this help guide to learn how to upload your images and create a gallery. If you have not yet created your albums, follow the steps in this help guide to learn how to create and manage your albums.
Edit your albums
If you need to make edits (or create a new album) while in the Add Gallery Window, select Manage Albums in the left side menu.

Select a display type
3) Under Insert Into Page > Choose Display, select Albums in the dropdown menu to list the album display options, and select Basic Extended Album

Customize the display settings
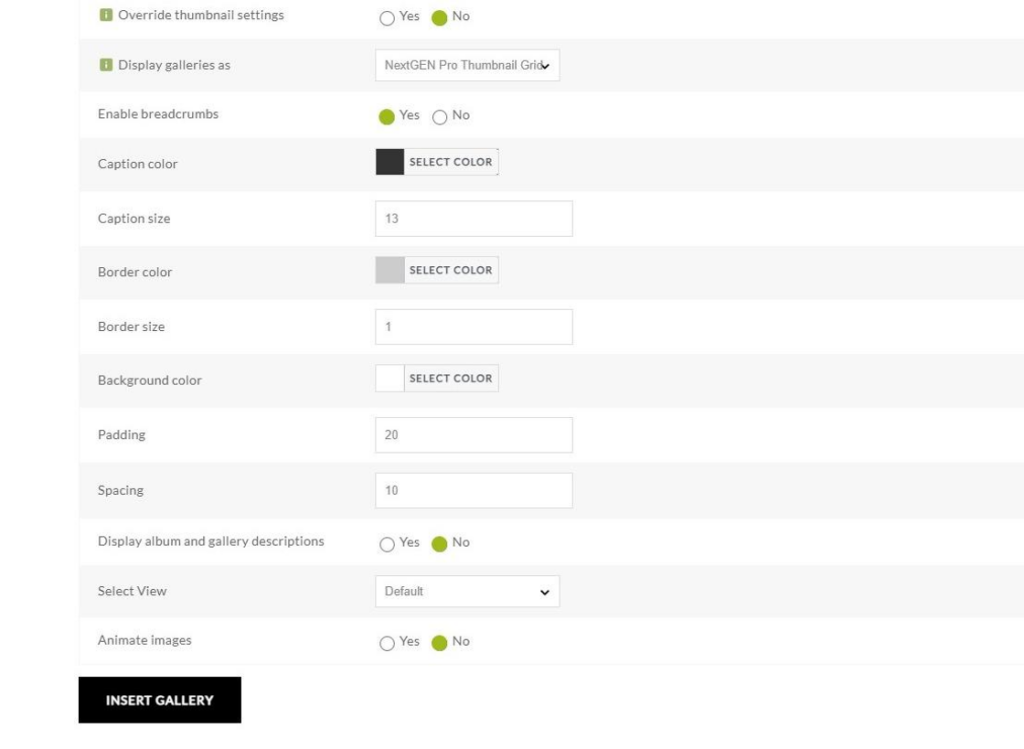
4) Under Insert Into Page > Customize Display Settings, go through each setting and adjust as desired. You can skip this step if you wish to use the default settings (set under Gallery > Gallery Settings in the WordPress dashboard).

5) If you wish to exclude or sort your galleries in your album, you may do so under Insert into Page > Sort or Exclude tab.

6) Then publish/update your page and you’re done! Your finished album should look something like ours below:

