How Can We Help?
Search for answers or browse our knowledge base.
Adding watermarks to protect your images
NextGEN Gallery allows you to add watermarks to your images individually or as a batch. Watermarks are text or graphics that are placed on a photo to identify who owns the copyright. These are a great way to prevent your images from being stolen or resold!
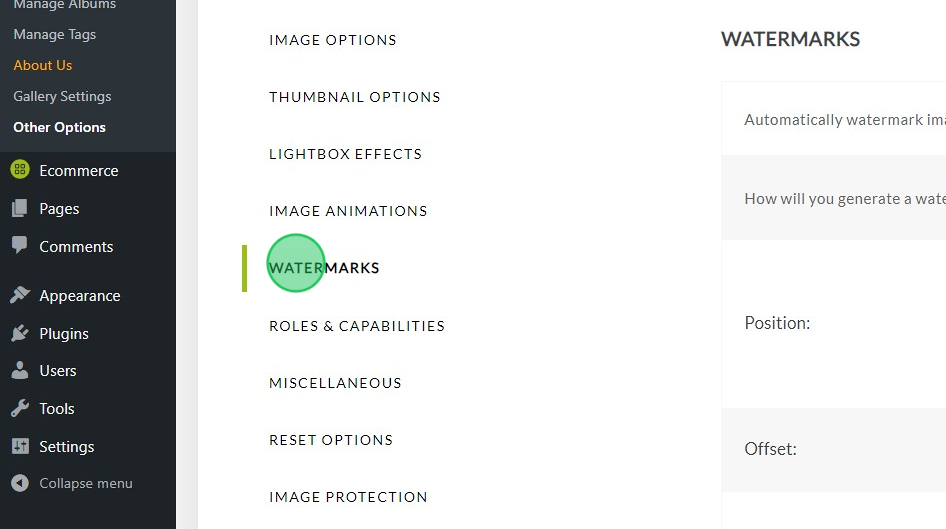
To set your watermark settings, go to Gallery > Other Options > Watermarks:

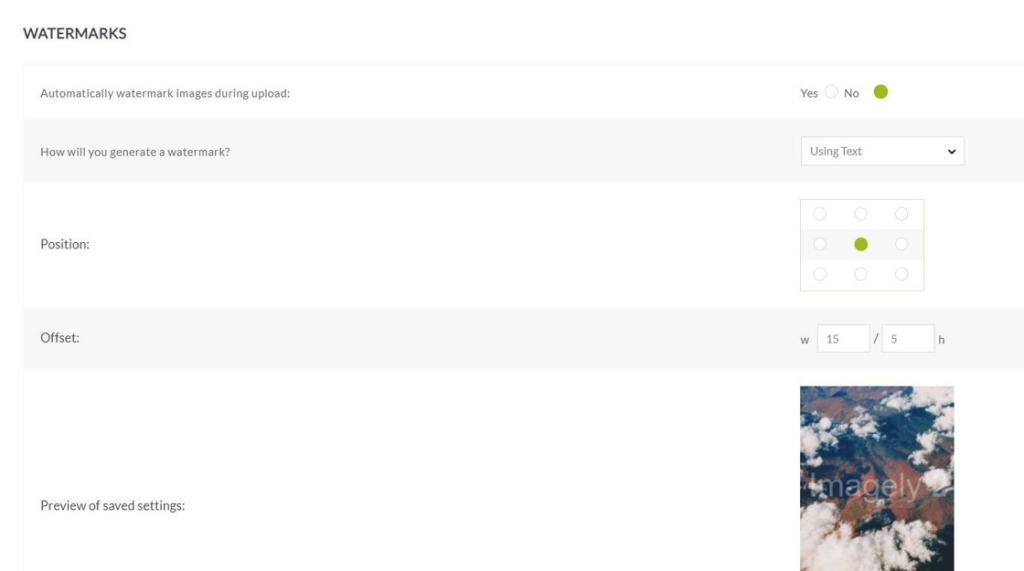
Here are the available watermark settings:
- How will you generate a watermark?: Using text or Using an Image.
- Position: You can use this setting to define the location of the watermark.
- Offset: Padding to your watermark based on pixels.
- Preview of saved settings: That button allows you to see how the watermark will look. It will use the first image from your first gallery.

How to set up your Text Watermark
- Go to Gallery > Other Options > Watermarks.
- On How will you generate a watermark? choose Using Text.
- Choose the position.
- Set the offset options.
- Click on (Show Customization Options).

- Set up the format for your text:
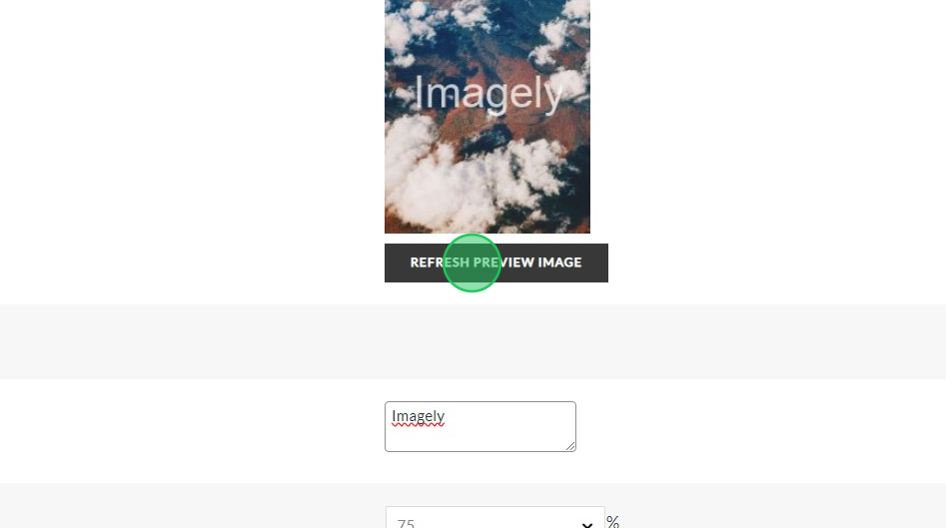
- Text: The text that you are going to use as your watermark.
- Opacity: 100% means that the text will be completely visible.
- Font Family: The style, at this moment you only have two options: YanoneKaffeesatz-Bold and Arial.
- Font color: the color of your watermark. By default, it is set to white.
- Click on Refresh Preview Image to check how your watermark is going to look.

- Finally, click on Save Options and that's it!
How to set up your Image Watermark
- Go to Gallery > Other Options > Watermarks.
- On How will you generate a watermark? choose Using Image.
- Choose the position.
- Set the offset options.
- Click on (Show Customization Options)
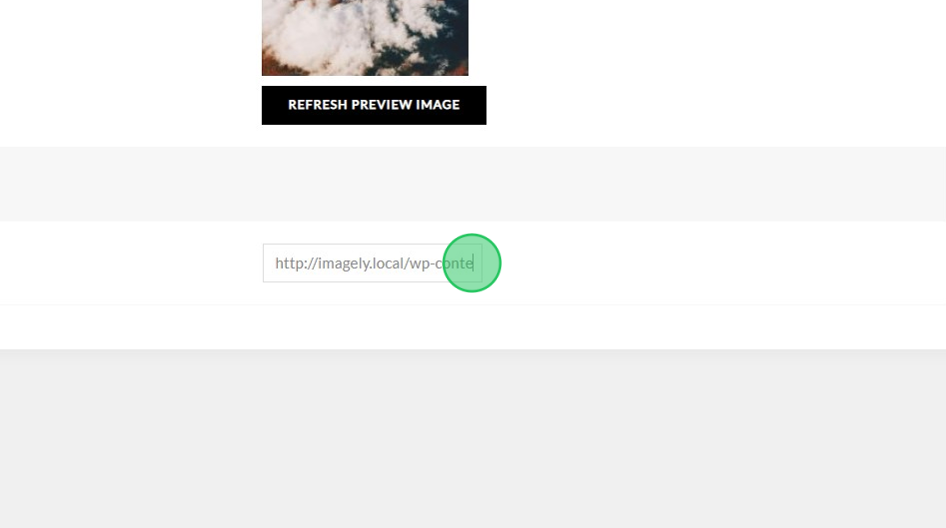
- Image URL: Include if possible the absolute path to that image or you can upload the image to your WordPress Media Library.
- Click on Refresh Preview Image to have a glance at the watermark.

- Finally, click on Save Options.
And that's it! Now you're all set to start adding watermarks to protect your images.
