Search for answers or browse our knowledge base.
Creating your first gallery
We know many of our users are photographers and have hundreds of images they want to upload in one large batch. This guide is here to help you create your first gallery with NextGEN Gallery!
How to Create a Gallery
There are three options to upload and create a gallery, but first, we'll show you the quickest way so you can get started displaying your beautiful galleries to your users as soon as possible!
Under the Add Gallery Window on your page or post in the Upload Images tab, create a new gallery by adding a title then select images to add to the gallery by choosing from the WordPress Media Library or upload new images. Once the upload process is complete, that's it! You're now ready to display your gallery on your site.
You can manage your new gallery under the 'Manage Galleries' tab in the left menu, or insert your gallery right away under the 'Insert Into Page' tab in the left menu.
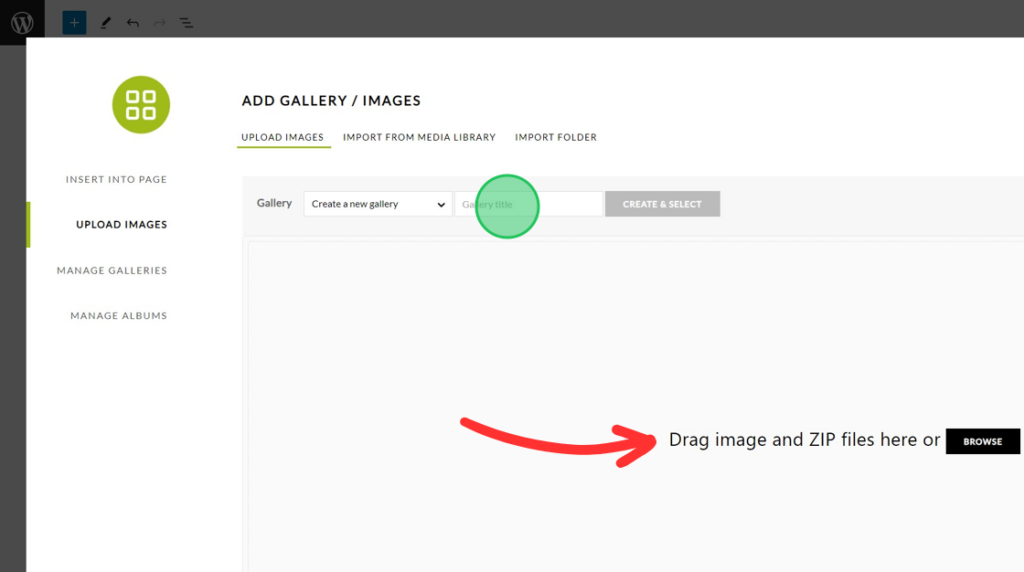
How to add images to your gallery
Currently, there are three ways to add images to your galleries: upload images directly, select images from the WordPress Media Library, or import a folder of images directly from your server.
Upload Images Directly
You can easily upload images directly to your gallery by selecting the image files or dragging a batch of images directly to the upload area when creating or editing a gallery.
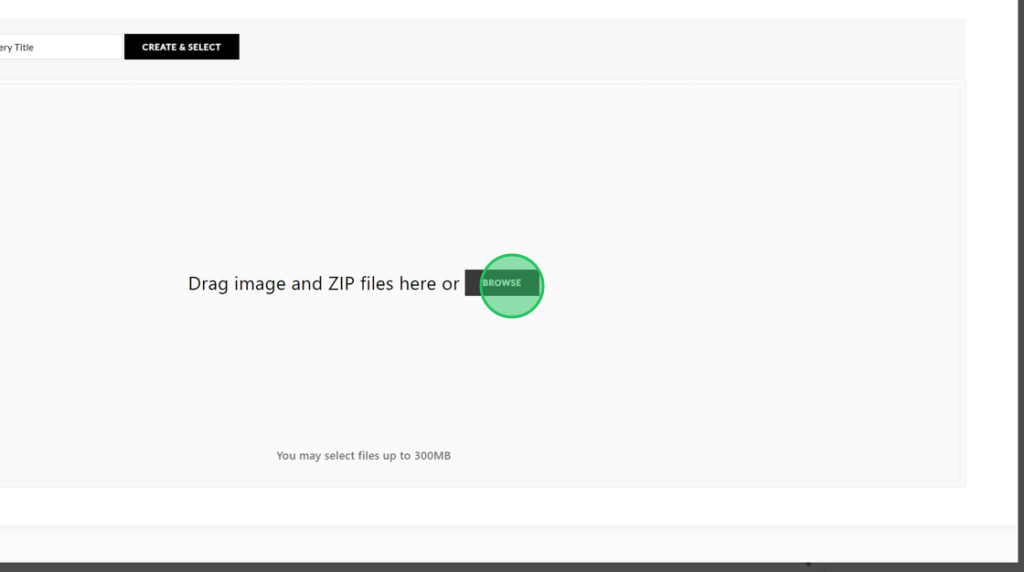
You can even upload zip files of images!
Import from the WordPress Media Library
The next option to add images is to select them directly from the WordPress Media Library.
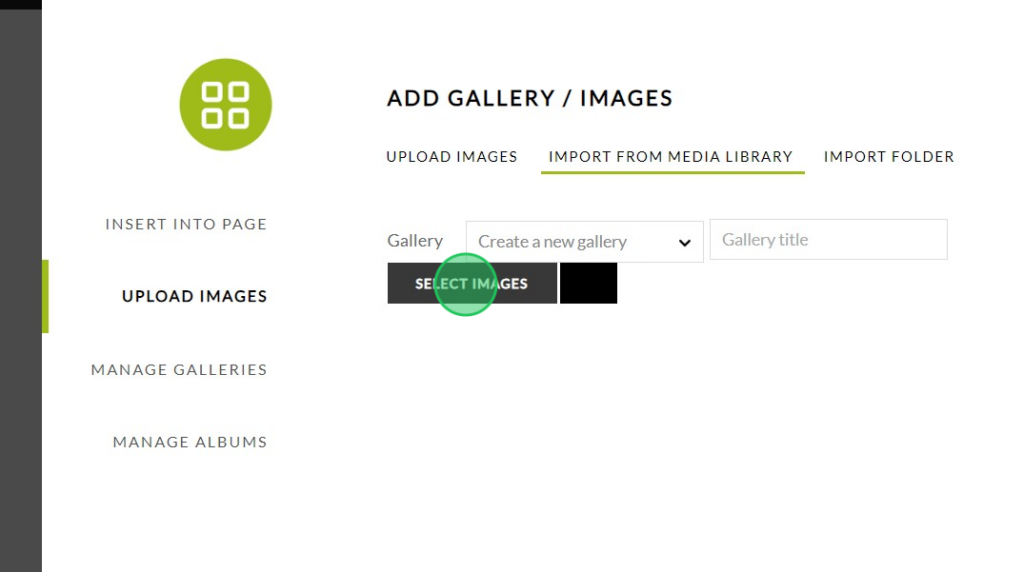
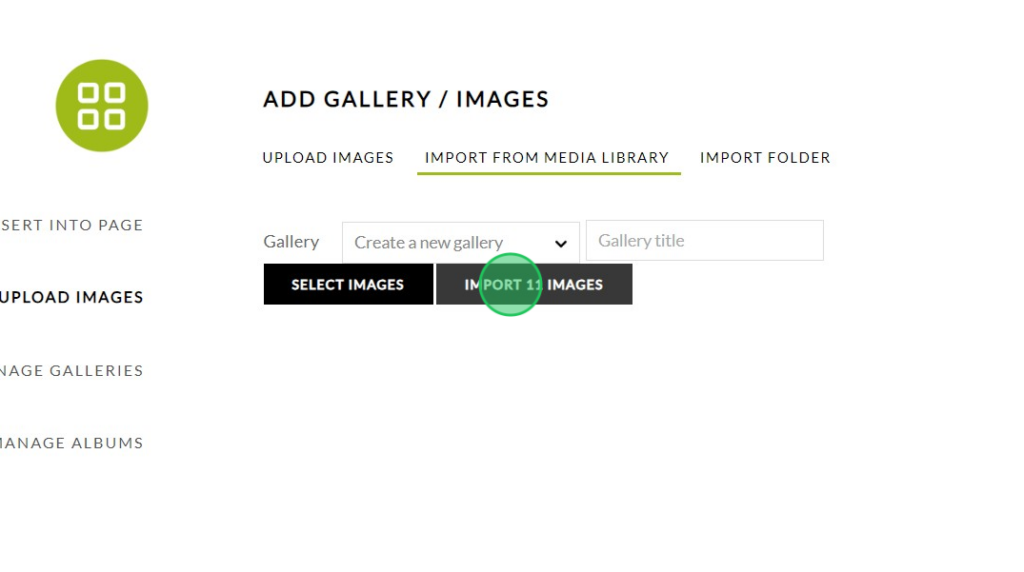
While creating or editing your gallery, just click on the Import from Media Library tab, then you'll just click the Select Images button to begin selecting images from the WordPress Media Library.
To select multiple images from the media library you'll just need to hold the Shift key while you select the images.
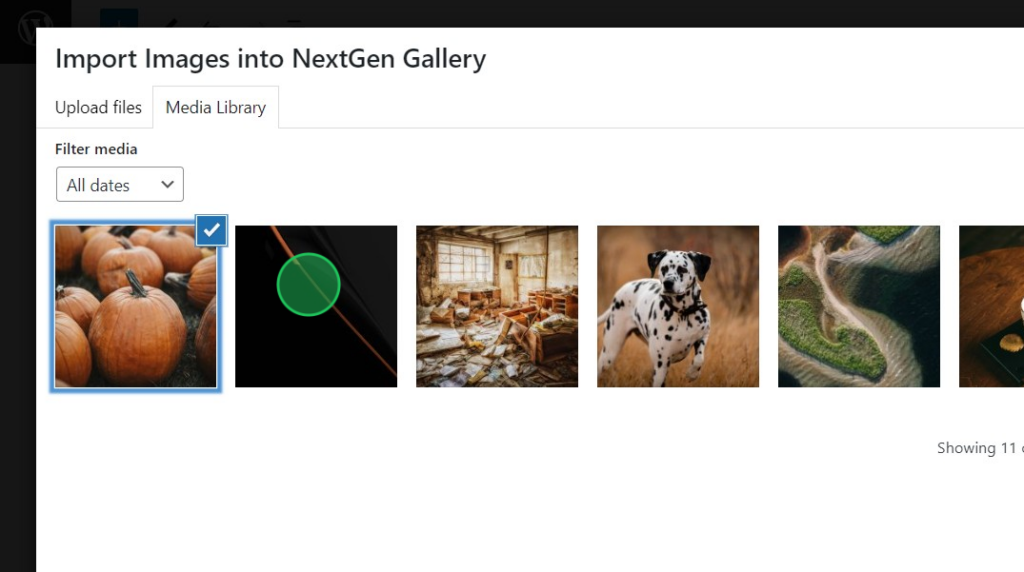
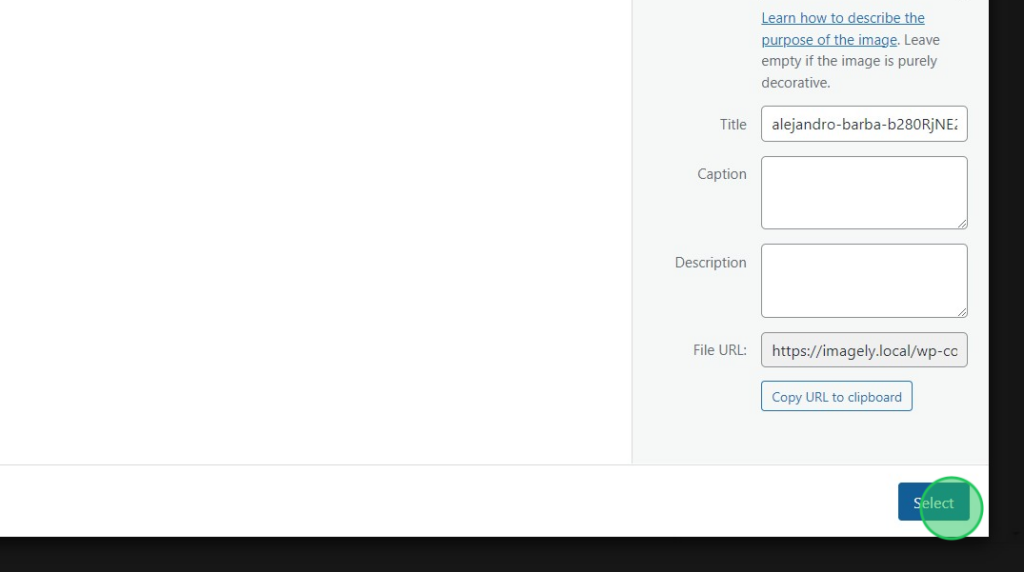
Finally, to add the images just click the Select button in the bottom right corner then the Import button to add the images to your gallery.
Import a Folder of Images from the Server
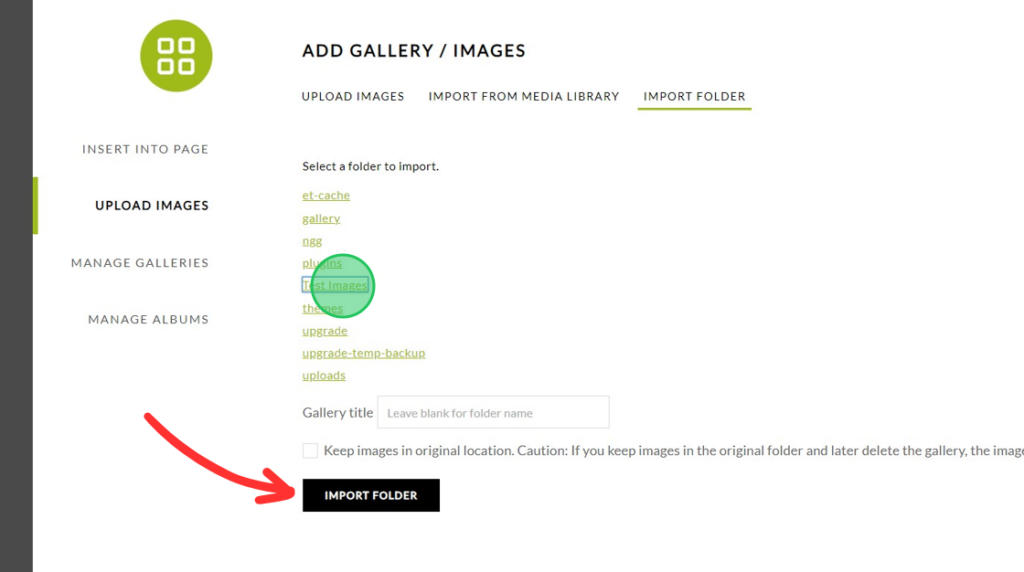
The last method for adding images to your gallery is to select a folder of images that is saved to your server.
Note: The folder of images must be located under the /wp-content folder on your server.
First, you'll go to the Import Folder tab, select the folder of images, then click the Import button.
After your images are imported you can click the Manage Galleries link to be taken to the NextGEN Gallery plugin to see and edit the images.
That's it! Now you know how to create galleries and all the ways to add images! 🙂
