Search for answers or browse our knowledge base.
Pro Mosaic
To use the Pro Mosaic in your post or page will take just a few simple steps!
Create or select a gallery
1) First we need to create a new gallery or select an existing one. If you have not yet created a gallery, follow the steps in this guide to learn how to upload your images and create a gallery.
Next, we need to add the NextGEN Gallery block to your page. If you would like to keep using the Classic Editor, you will need to install a plugin like the Classic Editor plugin.
Note: To start using Pro Mosaic Display you will need a NextGEN Plus license or higher.
To access the Add Gallery Window click over the (+) symbol then select or search the NextGEN Gallery block.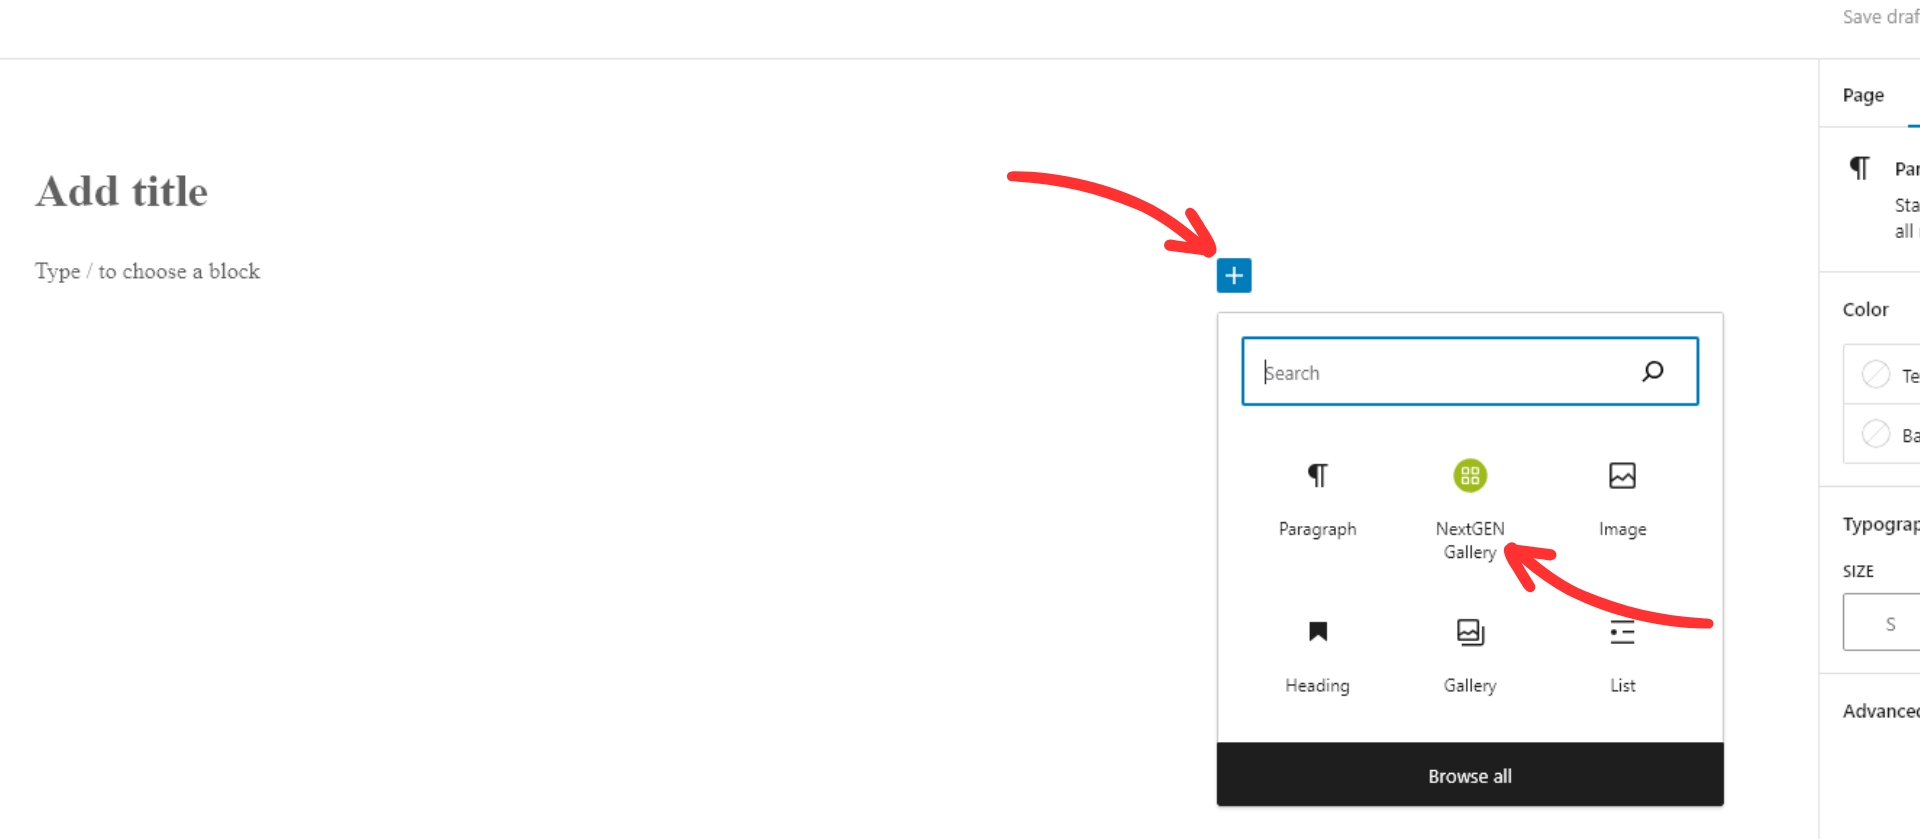
After you finish inserting the NextGEN block, the editor should look like this:
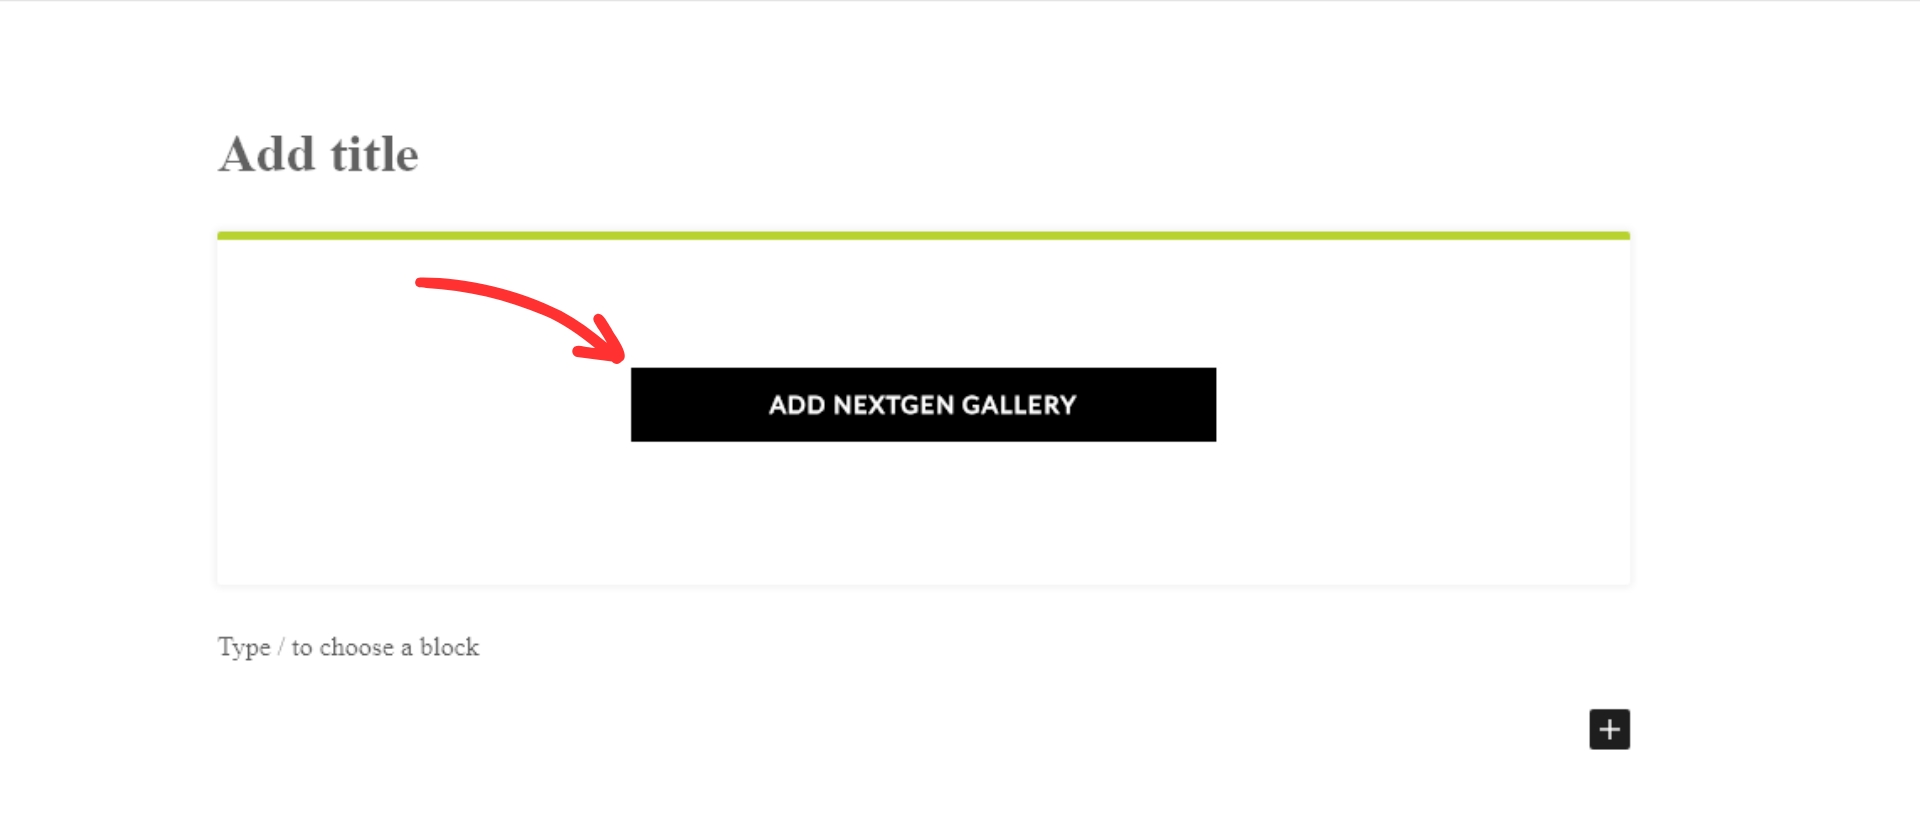
Select a display type
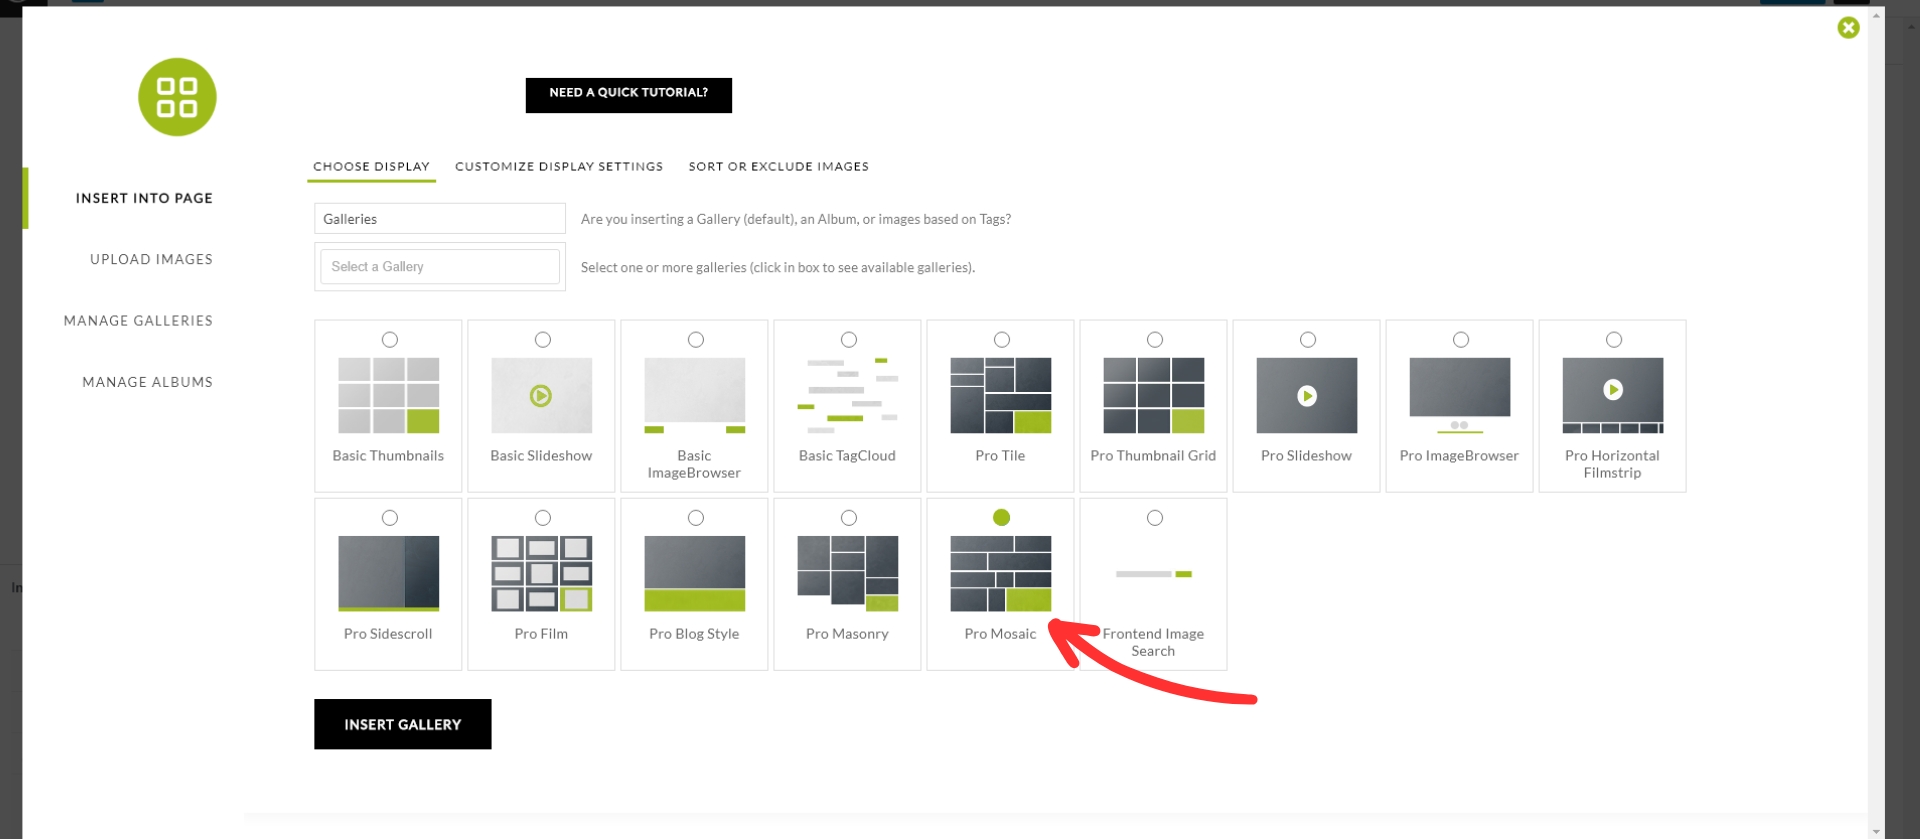
2) After clicking Add NextGEN Gallery under the Choose Display tab select the Pro Mosaic template.
What would you like to display?
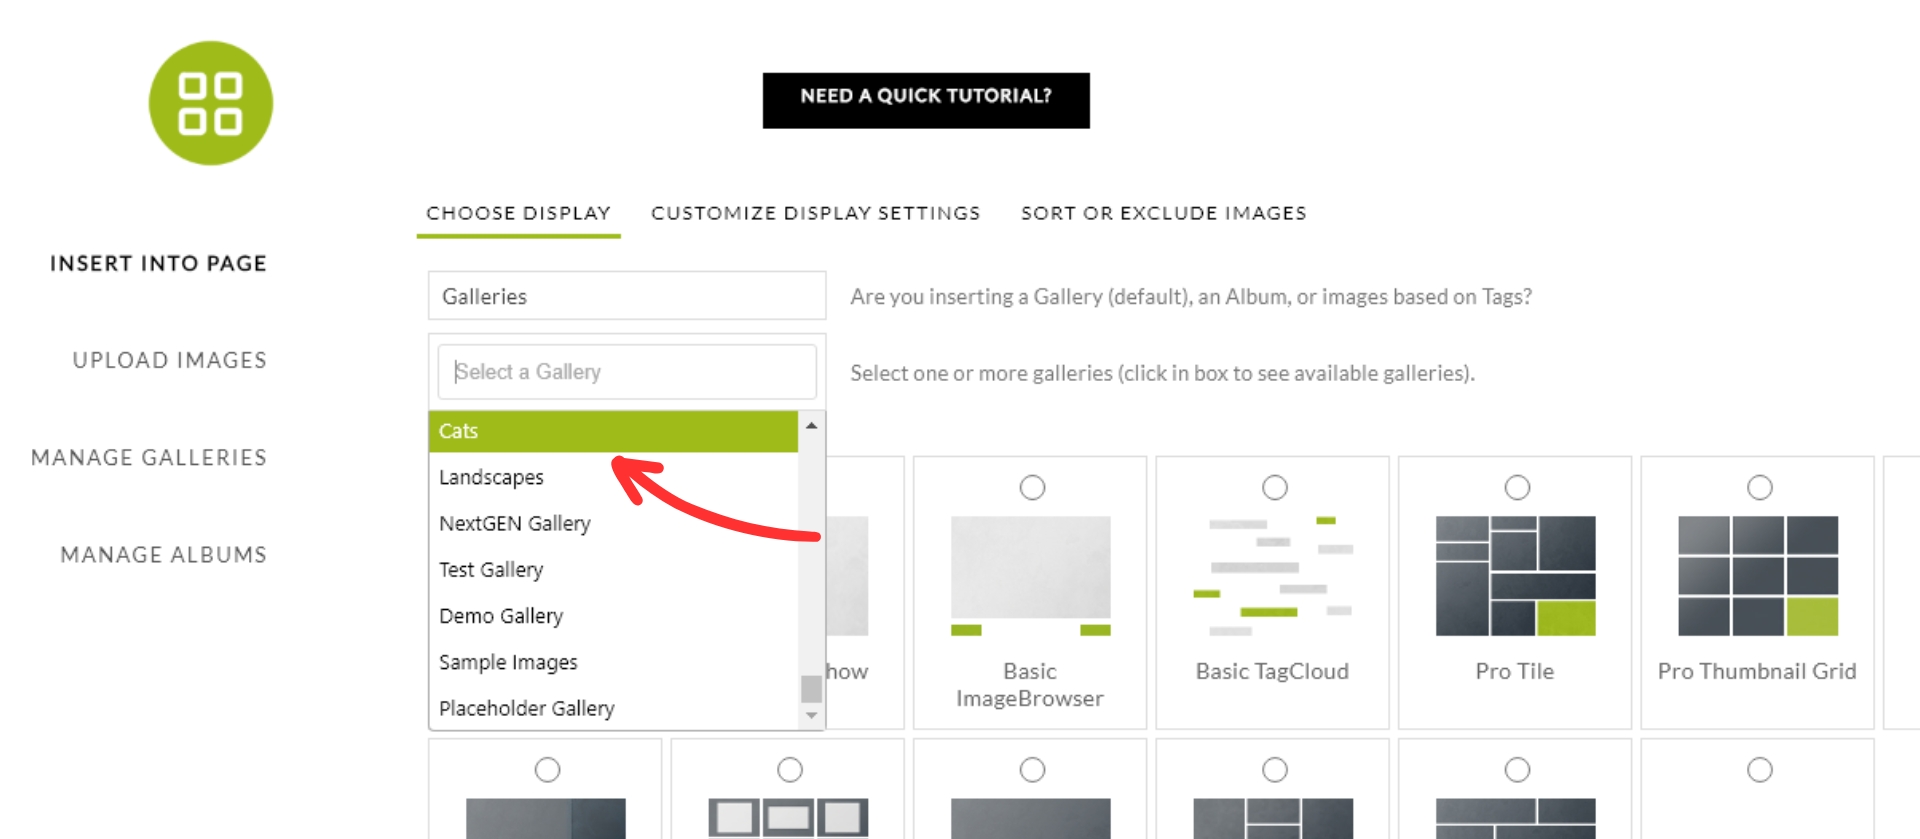
3) Under the Choose Display tab we can use the default choice to display a gallery or select one of the other options to display an Album or specific images based on tags. Then we will just need to select the gallery we want to display.
Customize the display settings (Optional)
4) Under the Customize Display Settings tab, go through each setting and adjust as desired. You can skip this step if you wish to use the default settings (set under Gallery > Gallery Settings in the dashboard).

5) If you wish to exclude or sort your images, you may do so under the Sort or Exclude Images tab.
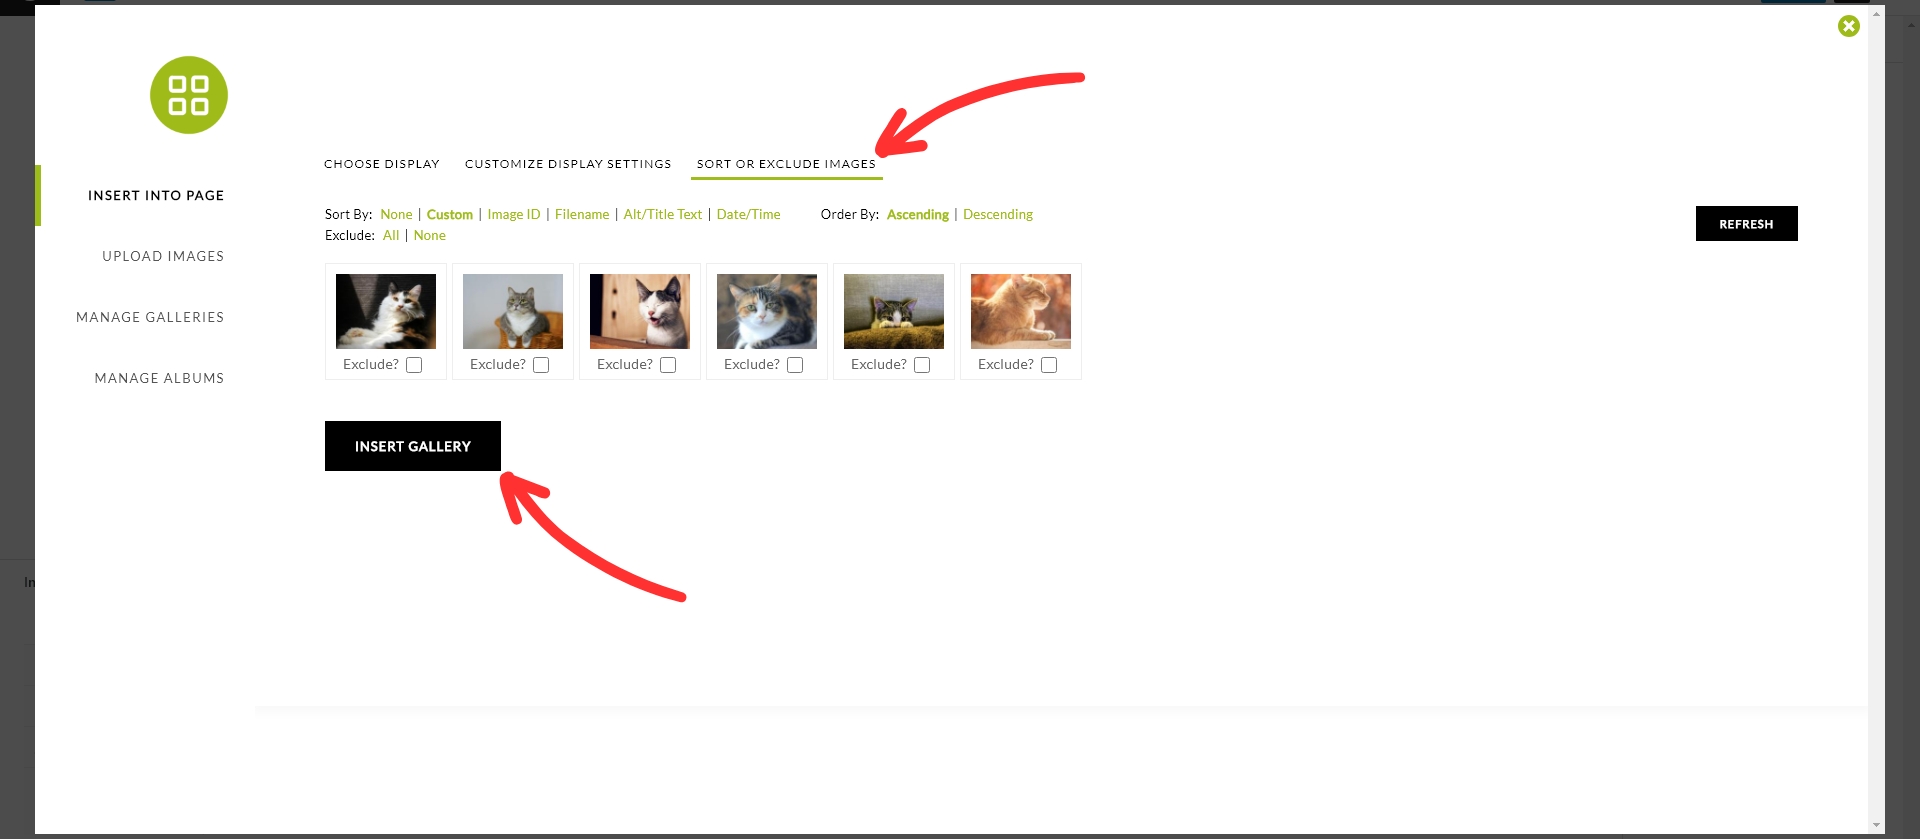
6) Finally, click Insert Gallery, and then publish/update your page and you're done! Your finished gallery should look something like ours below
DISPLAY TRIGGERS/ECOMMERCE- If you have NextGEN Pro or NextGEN Plus installed, and you have the Pro Lightbox Effect enabled, you may choose to display the trigger icons that launch the Pro Lightbox to view your gallery images.
