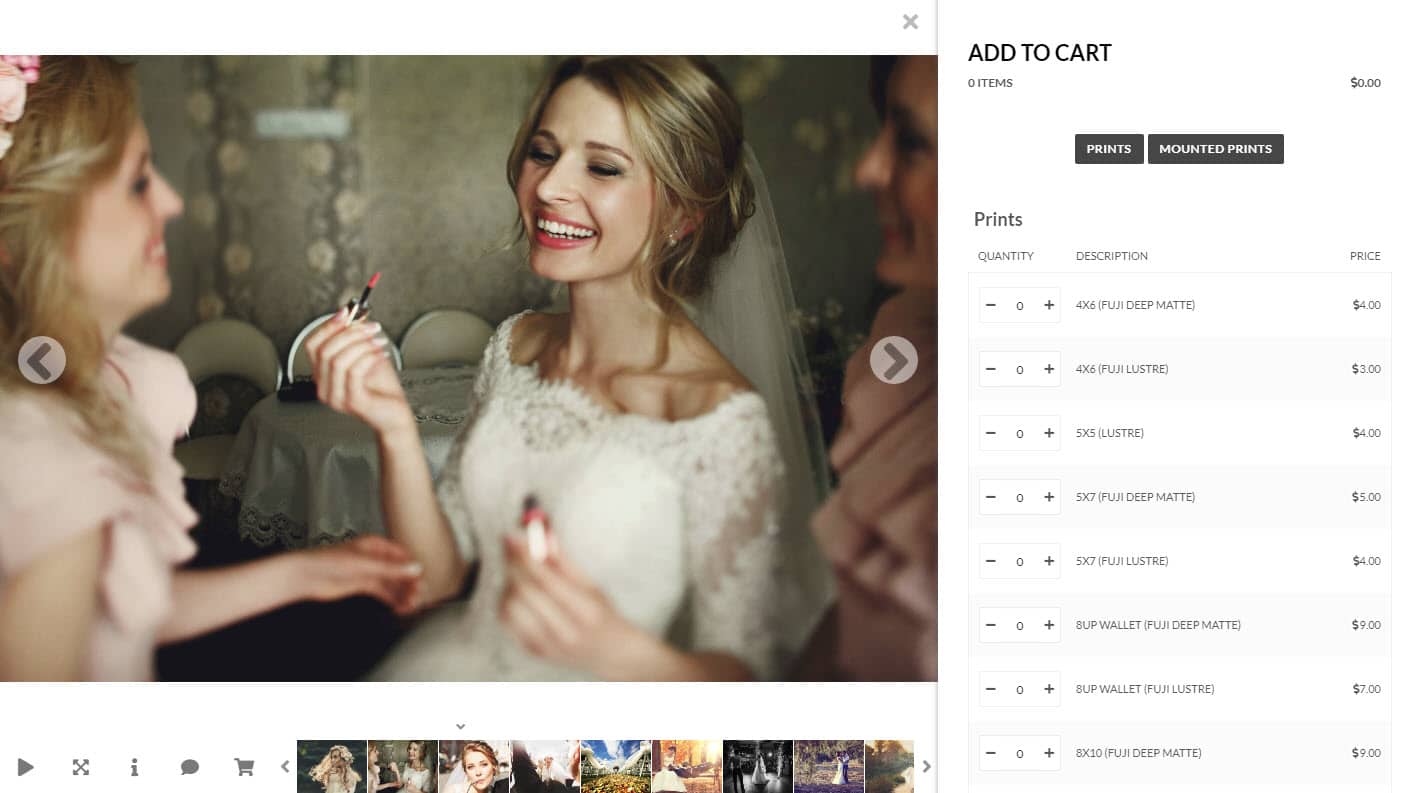
With NextGEN Gallery Ecommerce, it’s easier than ever to create a pricelist for galleries to start selling your images.
Refer to our Printlab Overview for more detailed information on how the orders will be processed and to learn how to set up the payment checkout.
First go to the Ecommerce Options > Manage Pricelists to start creating a new pricelist, or edit an existing one.


Then you’ll need to select Add Product at the top and you’ll be shown three options: WHCC Prints, Manual Fulfillment, and/or Digital Downloads.


For this guide, we’ll be choosing the WHCC Prints option but below you’ll find more details about each product option available in NextGEN Gallery.
- WHCC – These products will be automatically fulfilled through White House Custom Color print lab. For more details about the options offered by WHCC you can check out their website here.
- Manual Fulfillment – These products will be fulfilled by you and will not be submitted to WHCC.
- Digital Downloads – will be made available to users for download immediately after purchase.
After selecting WHCC Prints, you may add all or select only the specific prints you want to offer. You can choose from Matte, Lustre, Glossy or Metallic prints, Mounted Prints – Traditional, and/or Canvas. We regularly update these options so you know you’re offering WHCC’s most recent changes or additions.


After adding products to the pricelist, a table will appear where you can list the cost and price of each product.
Cost: This is the price you will be charged for printing.
Price: This is the price your customers will be charged at checkout. You may edit this anytime under Ecommerce > Manage Pricelists.

Now to assign your pricelist to a gallery navigate to Gallery > Manage Galleries > Select your gallery, then in the Gallery Settings tab will be an option to select your pricelist. After selecting a pricelist we can modify what images are for sale, which should be assigned to a different pricelist, or leave the assigned pricelist as the default list.


Finally, when adding your gallery to a page, select the Customize Display Settings tab at the top of the Add Gallery Window. From there be sure to select Enable ecommerce before inserting the gallery to the page.

And that’s it! You’re ready to start selling prints of your images and should now see the prints available in the Pro Lightbox.

