A painting can be very tricky to photograph, as it presents a number of unique considerations for the photographer. With just a few simple tips, however, you can create professional-quality representations of the painting, perfect for prints, submitting your art for exhibitions or galleries, or just to share your work online. In this guide, you’ll learn:
- The conditions that can lead to poor quality photos of paintings
- How and where to setup the painting for photos
- What settings to change on a phone for best results
- What settings to use on a DSLR or mirrorless camera
- How post processing your photo can bring out the best results
The Challenges of Photographing a Painting

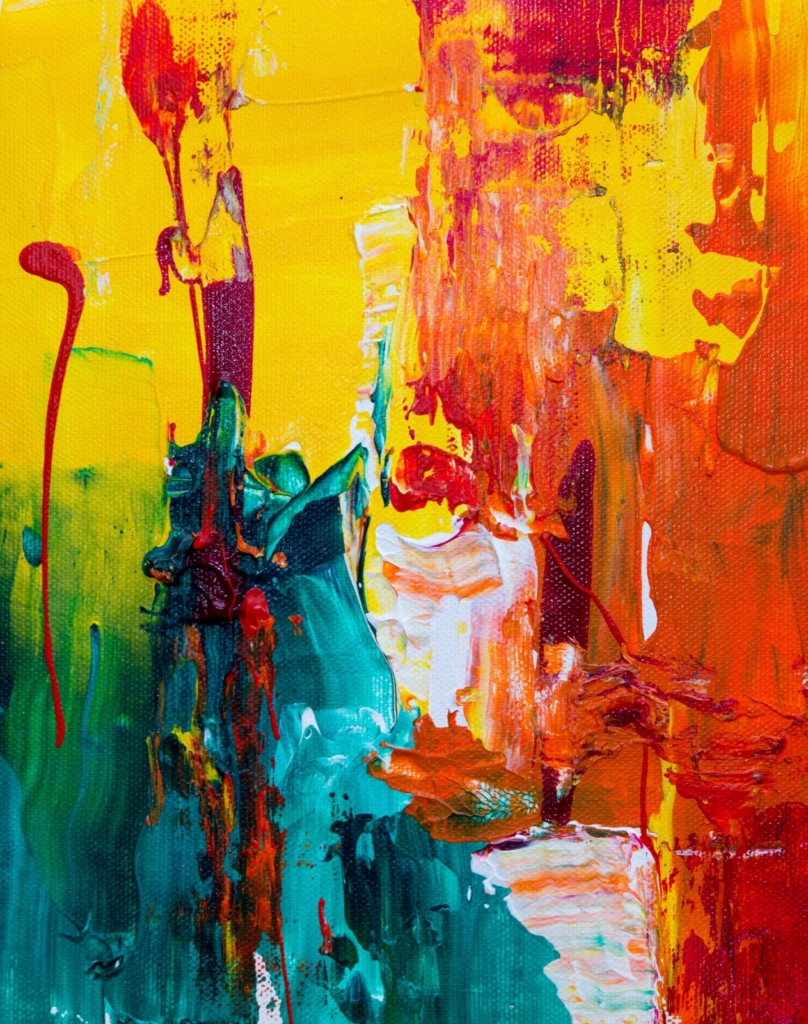
Taking a great quality photo of a painting isn’t as simple as just walking up and snapping a photo. If you really want to represent the color, depth, brushwork, and artistic vision, there are a couple of things you’ll need to be aware of. The first is that a camera sees light very differently than your eyes. Your eyes can adjust for color balance and dynamic range differences, letting you see a scene only lit by a candle or broad daylight with equal ease. Meanwhile, a camera would need to adjust both its exposure and white balance, among other settings, to create a good representation.
The second challenge is a problem of geometry. If you’ve ever taken a photo of a tall building and seen it appear to “tip back”, you’ve seen the effect of angular distortion. This same effect can cause a square or rectangular canvas to look crooked or out of shape if you aren’t lined up squarely with the work.
Lighting poses another challenge. Too much light in the wrong place can cause glare on reflective surfaces, while light coming in from too sharp of an angle can make the impasto or texturing of the brushstrokes appear too prominently. Too little light makes things more challenging for the camera, leading to noise or blur.
Fortunately, when you understand what causes these issues, it’s easy to solve all of them and create a high quality photo of your painting. If you’ve already tried photographing one of your paintings, you may have already ran into one of these issues – read on to see how to solve it!
How and Where to Setup Your Painting
Choosing a good location to photograph your painting is a great first step. Ideally the location will be bright, but without direct glare from the sun. If you can move your painting outside, finding some open shade, out of direct sunlight, can be a great option. Working directly in the sun can be difficult, as the light is harsher and can create too much contrast.
If you’d prefer to keep the work indoors, try to find an area by a large window or open door. The light that spills in from outside is very soft and even, making it a great natural source of illumination.
Ideally, you’ll avoid having to work with just artificial light. Without having dedicated strobes for photography, most household lights are neither bright enough, nor color neutral enough to really give a quality result. If you do have access to strobes, though, setting up two lights at 45 degree angles, with a soft modifier like umbrellas or a softbox can be a great option.

Setting up the painting is really going to be determined by the area you’re working in. If you have easy access to a wall, you can hang the work. If you choose to work by a window or door, consider laying the work on the ground or a table, then standing over it to take the photo. An easel or other stand can also work well, but you’ll want to be able to face the painting head on – a tilted easel or drafting table will make things more difficult to line up with later.
Whatever your choice for setup, make sure you can get at least a few feet away from the work if it’s larger than about a foot long in either dimension. The bigger the work, the more distance you’ll need while still being able to square off the camera to the surface. You can work more closely to smaller works, but for the smallest, consider a lens with some degree of macro capability – you don’t want to be unable to focus the camera while still filling the frame.
Setting Up Your Phone
Photographing a painting well can really be considered to be 60% lighting, 30% positioning, and 10% camera settings, but don’t turn an A+ into a B by forgetting your settings! You’ll want to choose settings to prioritize quality over convenience, as well as turn on a few bonus features that can make it easy to optimize your framing.
The first useful setting to turn on is the grid overlay. On iPhones, you can activate this by going to Settings>Camera>Grid. This will overlay some thin lines on your screen (don’t worry, these don’t show up in the final image!) that will help you check whether you’re properly lined up with the canvas. If the edges of the canvas are straight and parallel with those on screen, you’re good to go!
The next setting is actually one you’ll want to avoid: zoom. For a phone, the basic focal length, not the wide angle, telephoto lens, or some form of digital zoom, is the sharpest option. On some phones, you can try the telephoto lens, as long as you have enough light and distance to make it work, but results may vary.
Along with avoiding zoom, avoid using night mode, flash, or any other option that modifies the lighting. Ideally your lighting is already bright enough to avoid activating these automatically, but you may still need to disable them. The same goes for portrait mode or beauty mode, which can mess with the focus or colors of your shot.
One last tip can help you get sharper images: use the volume button to trigger the shutter. If your hands are less steady, stabbing at the onscreen shutter button may introduce too much shake compared to clicking the volume button.
If you find yourself shooting multiple works with your phone, consider investing in a dedicated camera app. An app like Halide will give you more control over exposure, focus, and even generate raw images, a file type that gives you more post-processing options to better refine your image. These apps only cost a few dollars, but let you get even better results out of your phone’s camera in every situation.
Setting Up a Dedicated Camera
If you have access to a DSLR or mirrorless camera, give it a try! Photographing a painting with the higher quality lens and larger sensor of a camera can deliver even better results. Fortunately, setting up a camera will involve many of the same considerations as setting up a phone.
To optimize quality, you’ll want to start by setting your ISO to the camera’s base value. An ISO of 64, 100, or 200 will give a much higher quality image than one taken at ISO 1600. Want to know more about ISO? We’ve got a whole guide here.
If your painting is set up in a nice, bright area, you should be able to set a fast enough shutter speed to not need a tripod – for most lenses, this will be about 1/100 or faster. When photographing a painting, your choice of aperture is less important. Avoid shooting wide open at f/1.8 or f/2.8, as these wider apertures can leave too little of the image in focus. If you have enough light in your scene, a value between f/5.6 and f/11 will give a sharp result from front to back.
If you’re working on a tripod, set your camera to manual mode, dial in these settings, then adjust your shutter speed until you’ve got a bright enough image. If you’re working handheld, you can try setting an automatic mode – just like with the phone example, if you have enough light your camera should choose workable settings.
When you’re all set up, make sure you double-check your focus point. A flat surface like a painting can be tricky for an autofocus system, and you might need to adjust it manually. If your camera has a live view mode, you can often zoom in and verify focus without even taking an image.
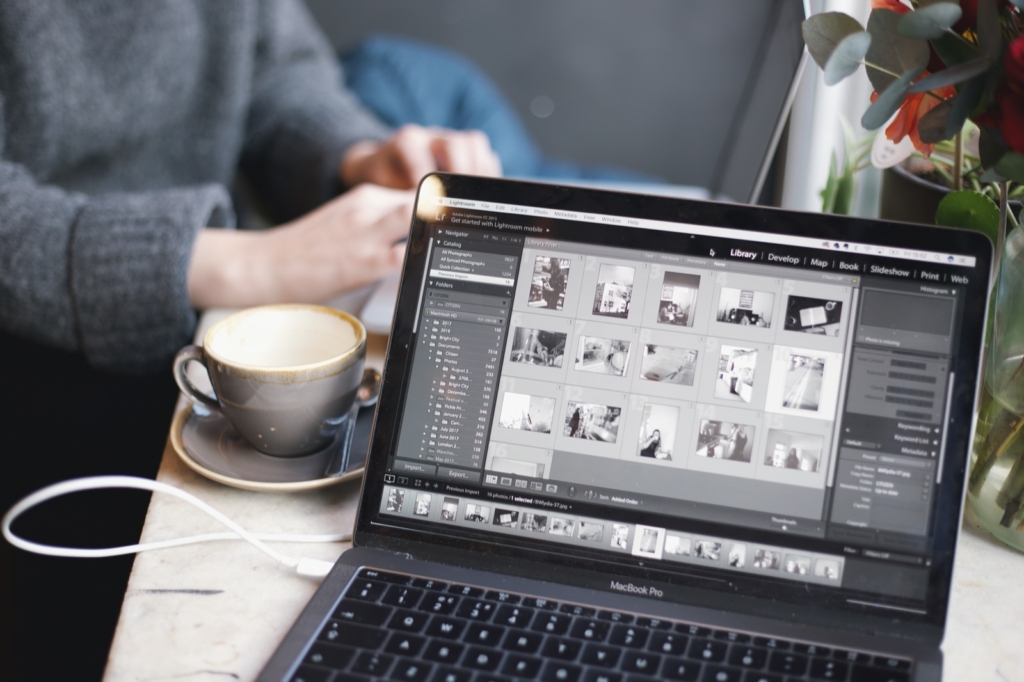
Saving your images as raw files can make it easier to adjust exposure and white balance, but requires you to be comfortable with using a raw processor like Lightroom. If you just want to get a file you can immediately share, you can use JPEG, and select a neutral or standard picture style for best results.

Post Processing
Regardless of whether you’re working with a JPEG or raw file, cropping your image can significantly improve your results. It’s very difficult to line things up perfectly, and you might have a little of your background showing around the canvas. If that’s the case, cropping in can help the viewer focus on your work alone.
If you have a raw file, there aren’t many adjustments you’d need to make. You can tweak the white balance from the automatic value if you notice a color shift – typical white balance tools let you adjust from cool to warm and green to pink. You can also add a bit more sharpening, depending on your camera, but this depends on both the work and the feel you want.
Overall, post-processing for a painting photo is quite simple, as getting good lighting from the start solves a bunch of issues down the line! With that in mind, make sure you set up your work in a space with bright, even lighting, then make sure you’re photographing the painting straight on, without tilting the camera. If you’ve done those things, you can produce a great quality print from any camera! For more information on how to share quality images over the internet, check out our guide.
Hopefully, this guide has helped you create the best possible photos of paintings and other artworks! If you’re looking to set up a website to show off your works, consider NextGEN Pro, the leading plugin for Ecommerce and WordPress galleries. For more tutorials and guides make sure to follow us on Twitter and Facebook for updates!

