Do you need to easily edit, organize, or create new albums without accessing the page builder? The Manage Albums section of NextGEN Gallery makes it easier than ever to handle all of your albums
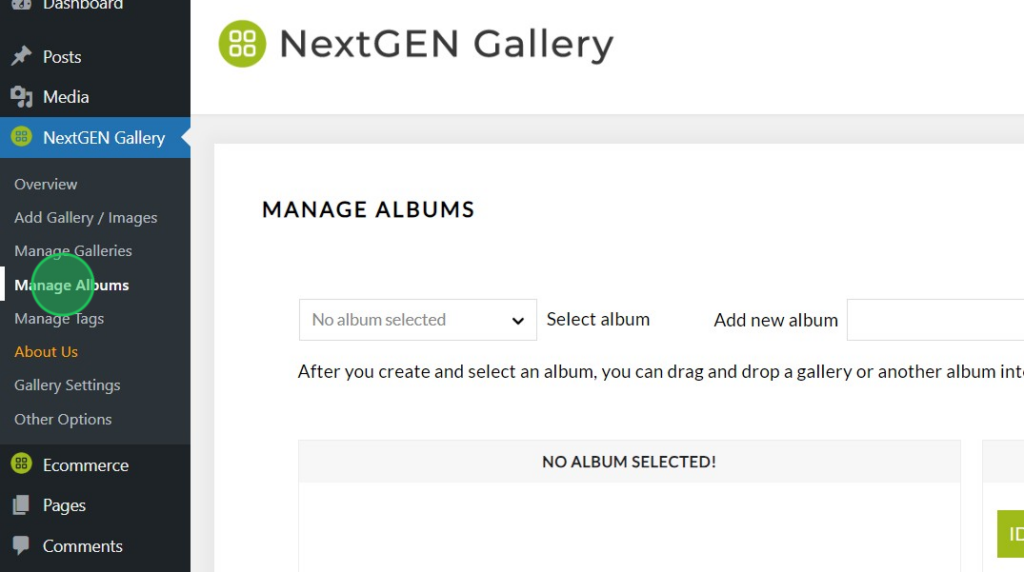
To access the Manage Albums section from your WordPress dashboard just go to NextGEN Gallery > Manage Albums.

After you access the Albums section you’ll be able to select an existing album to edit or create a new album by adding an album name to the Add new album field and clicking the Add button.
Editing an Album
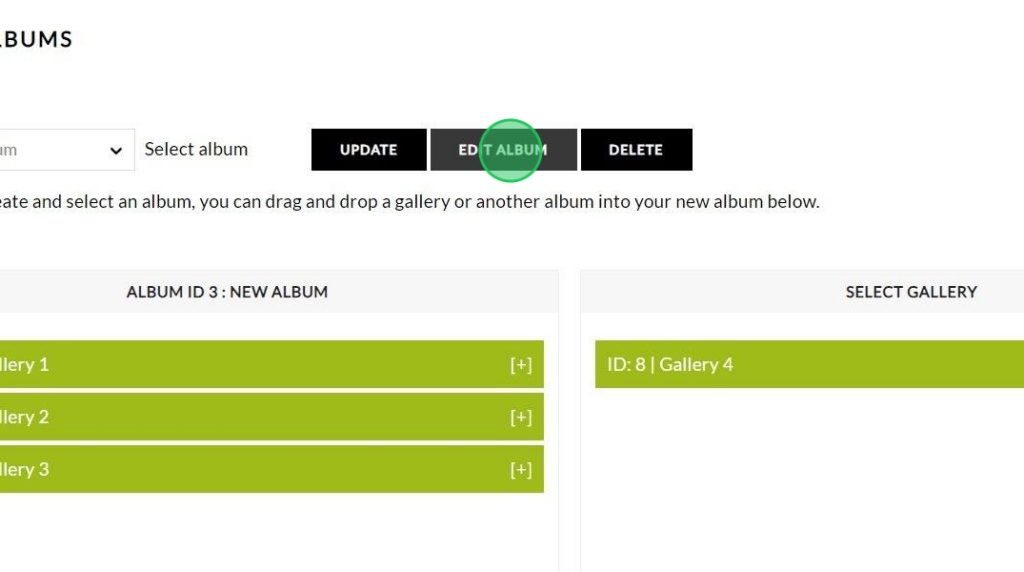
After you’ve created a new album, or if you already have an album created, and want to edit the album then you’ll just need to click the Edit Album button that appears after selecting the album.

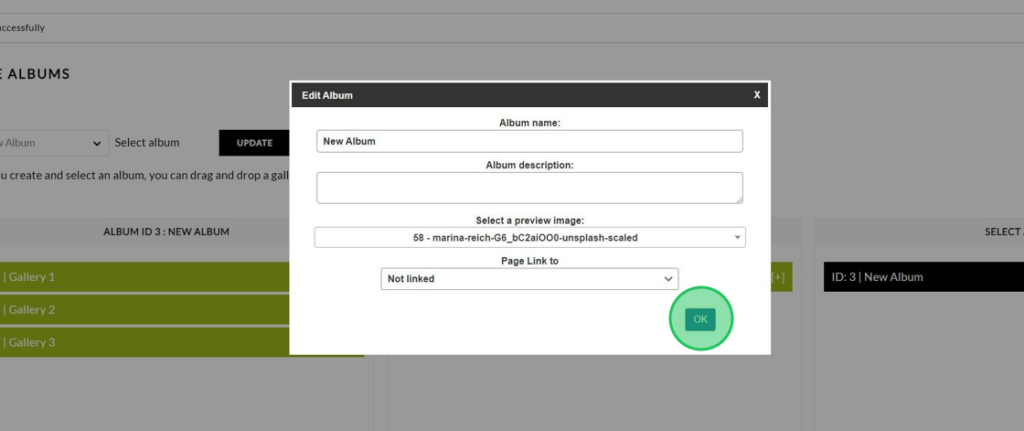
A pop-up window will appear that lets you edit some details about your album like:
- Album name: The album title will be used in some album displays like Compact Album, Extended Album, NextGEN Pro List Album, and NextGEN Pro Grid Album.
- Album description: Change or adjust album description; visible in album displays like Extended Album, and NextGEN Pro List Album.
- Select a preview image: You can adjust the preview thumbnail for your album.
- Page link to: You can redirect the visitor to another page on your site by clicking on the album thumbnail.

Adding and removing galleries inside your album
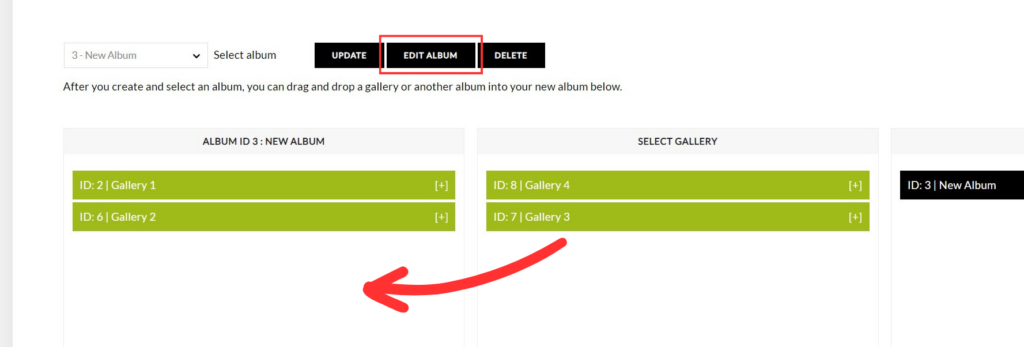
After selecting the album you’d like to manage you can also add or remove the galleries in the album by quickly dragging and dropping the galleries from the Select Gallery section to the Album ID section.
When you’re done all you need to do to save the changes is click the Update button at the top.

You can also create more advanced albums by adding an album within an album. Note: Please do not add the same album inside your album.

That’s it! Now you’re ready to start managing your albums directly from the WordPress dashboard! 🙂
