Get free tips and resources right in your inbox, along with 60,000+ others
Follow Us
Creating your first gallery
We know many of our users are photographers and have hundreds of images they want to upload in one large batch. This guide is here to help you create your first gallery with Imagely!
How to create a New Gallery and Publish It
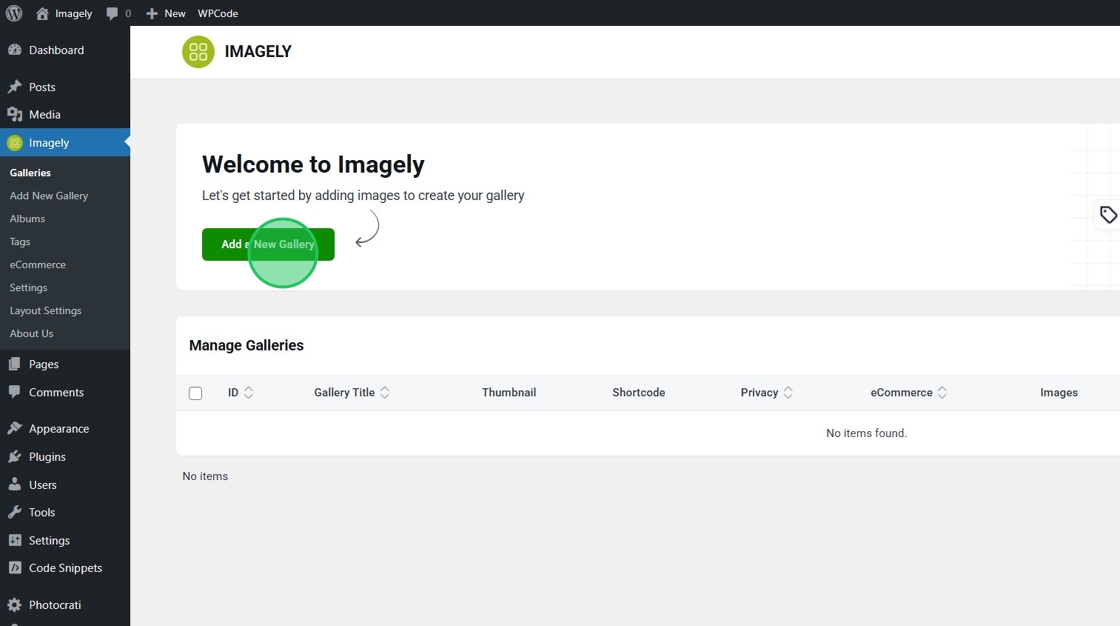
First, click Add a New Gallery
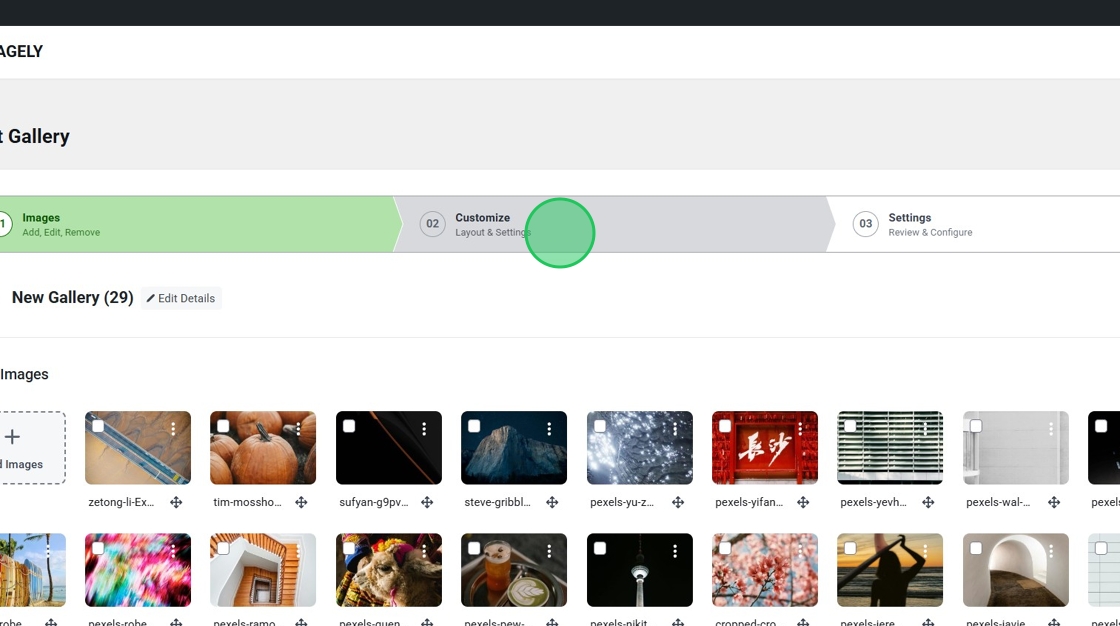
After clicking Add a New Gallery, enter a Gallery Title and then choose how to add your images.
Imagely supports the following sources:
Browse from Computer / Drag & Drop — upload image files directly from your device. You can drag files onto the upload zone or click Browse from Computer to open a file picker.
Media Library — pull in images already uploaded to your WordPress Media Library.
Import Folder — point to a folder on your server and import all images inside it at once.
Google Photos — connect your Google Photos account and import albums or individual photos.
Dropbox — import photos directly from a Dropbox folder.
Dribbble — pull in shots from a Dribbble profile.
TikTok — import images from a TikTok account.
Video Links — add video URLs (e.g. YouTube, Vimeo) as gallery items rather than uploading image files.
You can use more than one source in a single gallery — add from your computer first, then supplement from Google Photos or Dropbox, for example.
After your images finish uploading, click the Customize tab to select your gallery layout and customize your gallery!
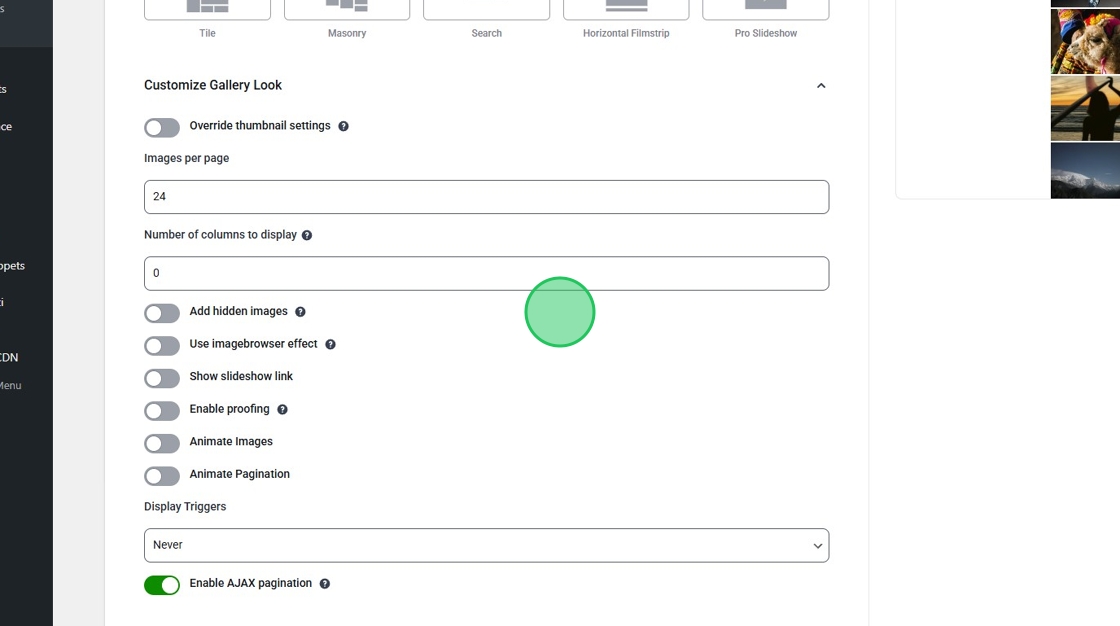
From here you’ll be able to adjust a few different settings for your gallery.
Override thumbnail settings: When you first upload images to a gallery, Imagely will automatically generate a set of thumbnails. This setting will let you create a new set of thumbnails with your preferred dimensions.
Images per page: The number of images that will appear on each page of your gallery.
Number of columns to display: Determine the number of columns your gallery layout will use. Leave this value as 0 for the gallery to use a responsive layout.
Add hidden images: When this setting is enabled, if Pagination is used then all images will be shown in the modal window (e.g. Lightbox).
Show slideshow link: This will add a link at the bottom where users can watch a slideshow of the gallery.
Enable proofing: Add a trigger button below each image for users to toggle “favorites”
Animate Images: Want to add some flair to your gallery? Add animations to your images when your gallery first loads for your users!
Animate Pagination: Similar to animating images, this setting will add an animation effect to photos when users navigate to a new page of the gallery.
Animations are only available with an Imagely Pro license.
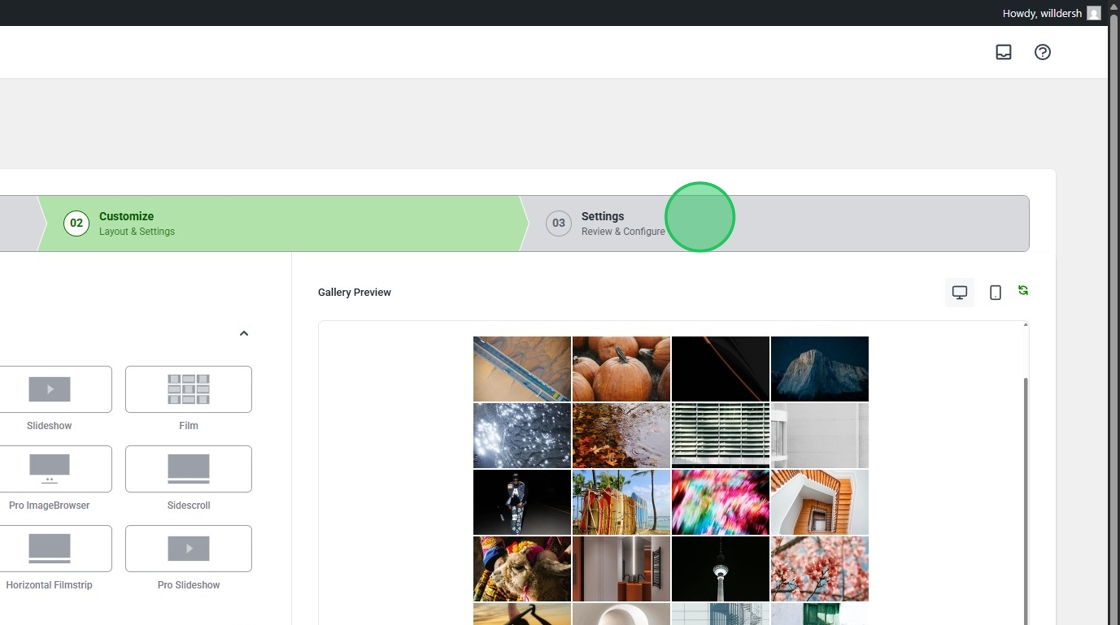
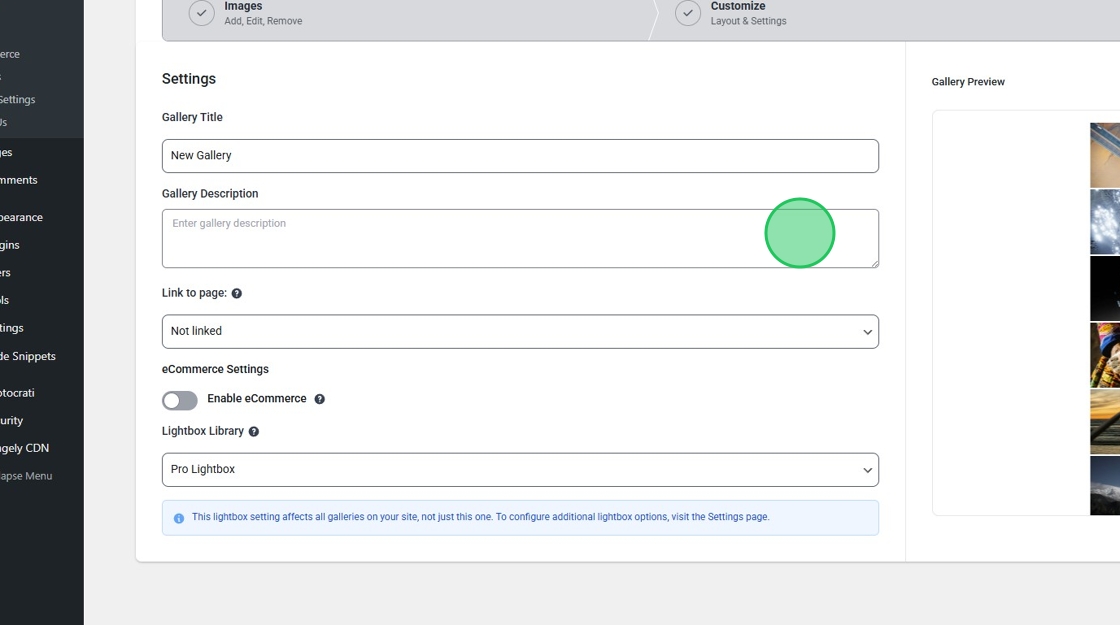
Next, click the Settings tab for the final review of your gallery.
Here you’ll be able to add a gallery description, select the lightbox your gallery will use, and even enable eCommerce if you’re selling images from your gallery!
Gallery Title: The name of your gallery.
Gallery Description: Add a section to describe the purpose of the gallery.
Link to page: Select a page or a create a new one that the gallery will be associated with.
eCommerce Settings: Selling your images? This setting will let you enable eCommerce features and assign a pricelist to the gallery.
Lightbox Library: Pick which lightbox style will be used to display your images.
Imagely Pro is required to enable eCommerce features.
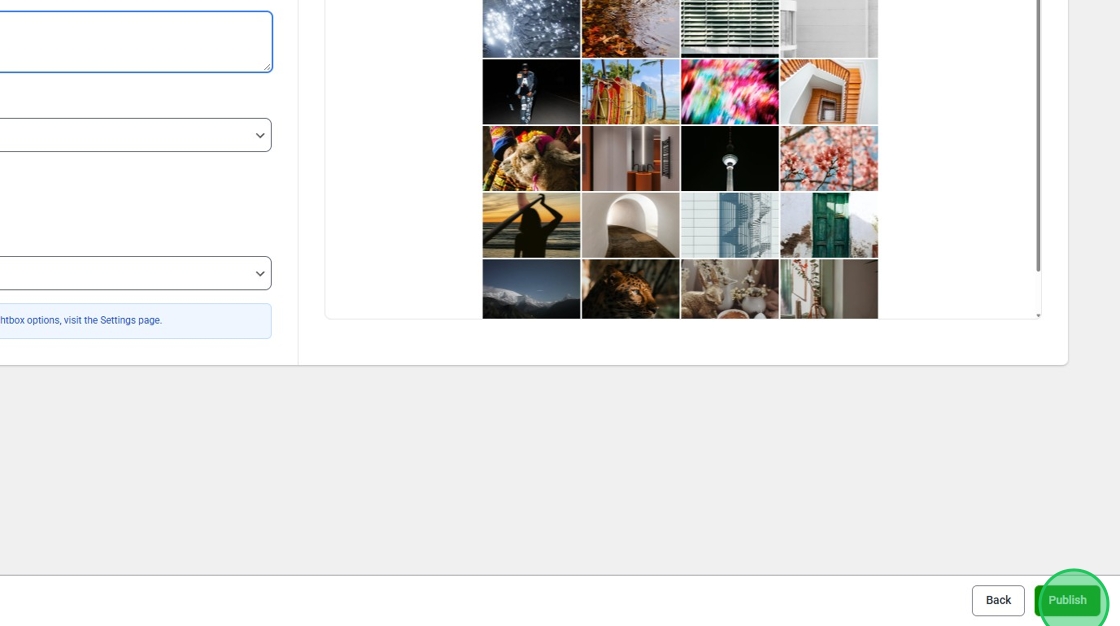
Finally, click Publish and your gallery is ready to use!
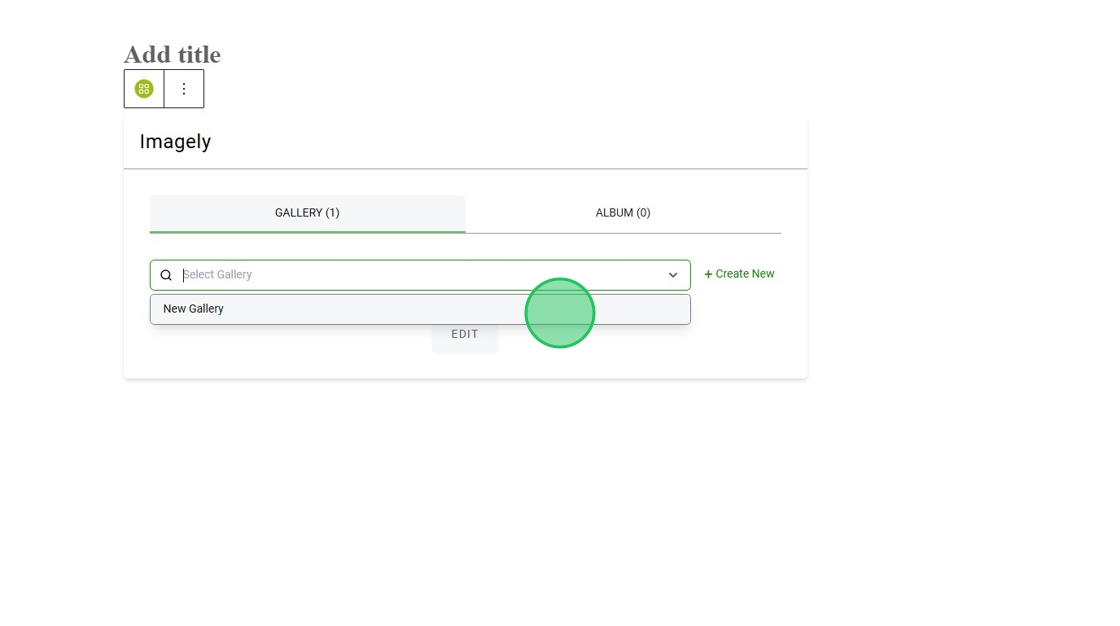
Now just head over to the page where you want to display your gallery, insert the Imagely block, and then select the gallery from the dropdown menu.
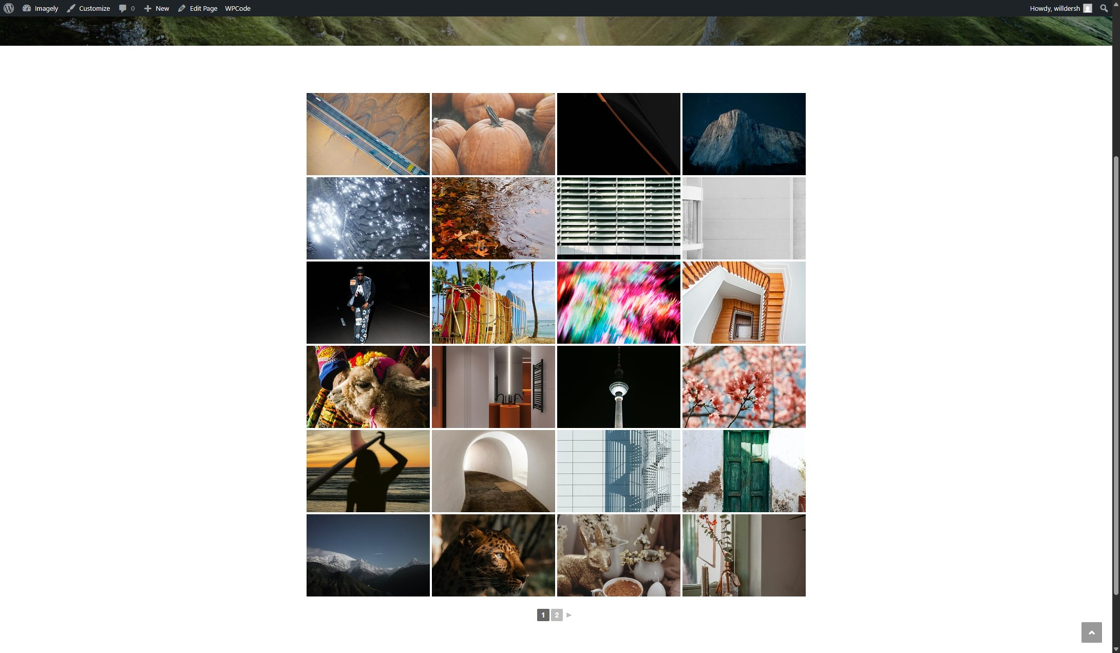
Now you’re ready to create more galleries and start showing off your images!
That’s it! Now you know how to create galleries and all the ways to add images! 🙂